Making Bread, A Curry, Some Art And A Gift For You!

Share this post
Share

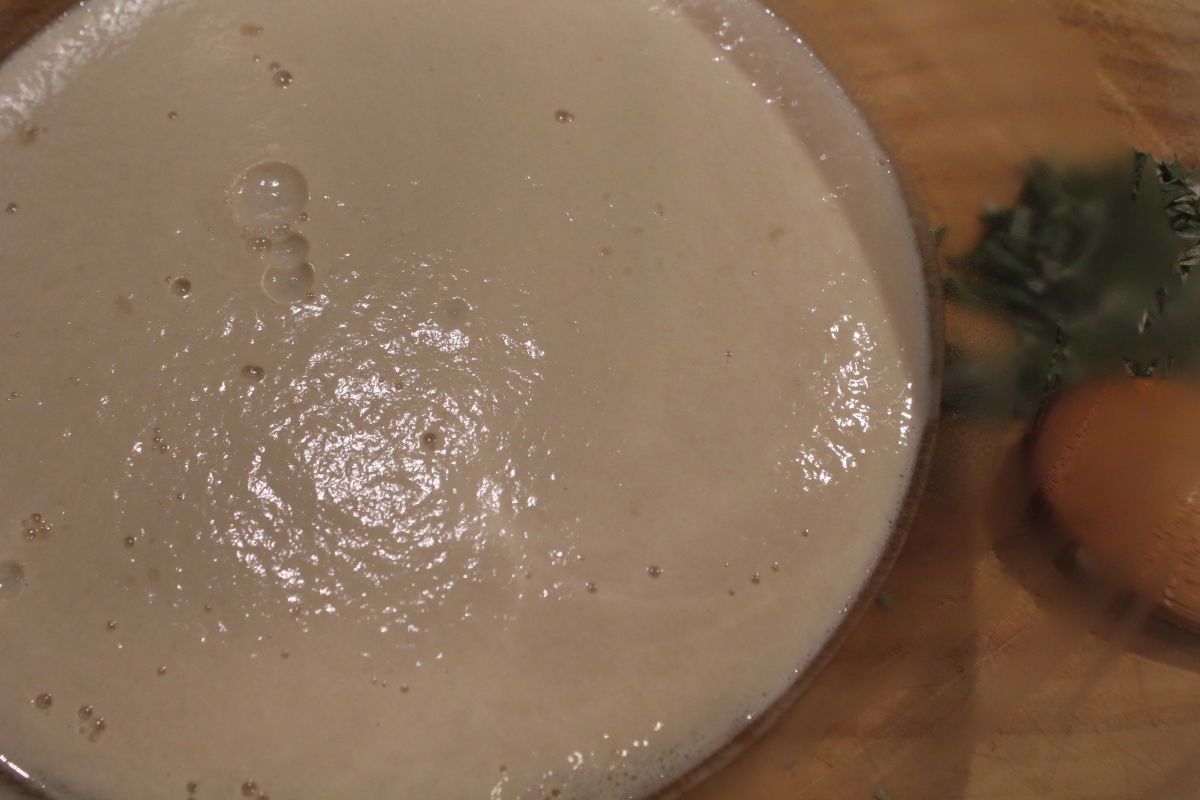
I was intrigued by a recipe for bread cooked in a slow cooker, so gathered the ingredients and began making it. It was a warm day and the yeast mix began foaming quickly.

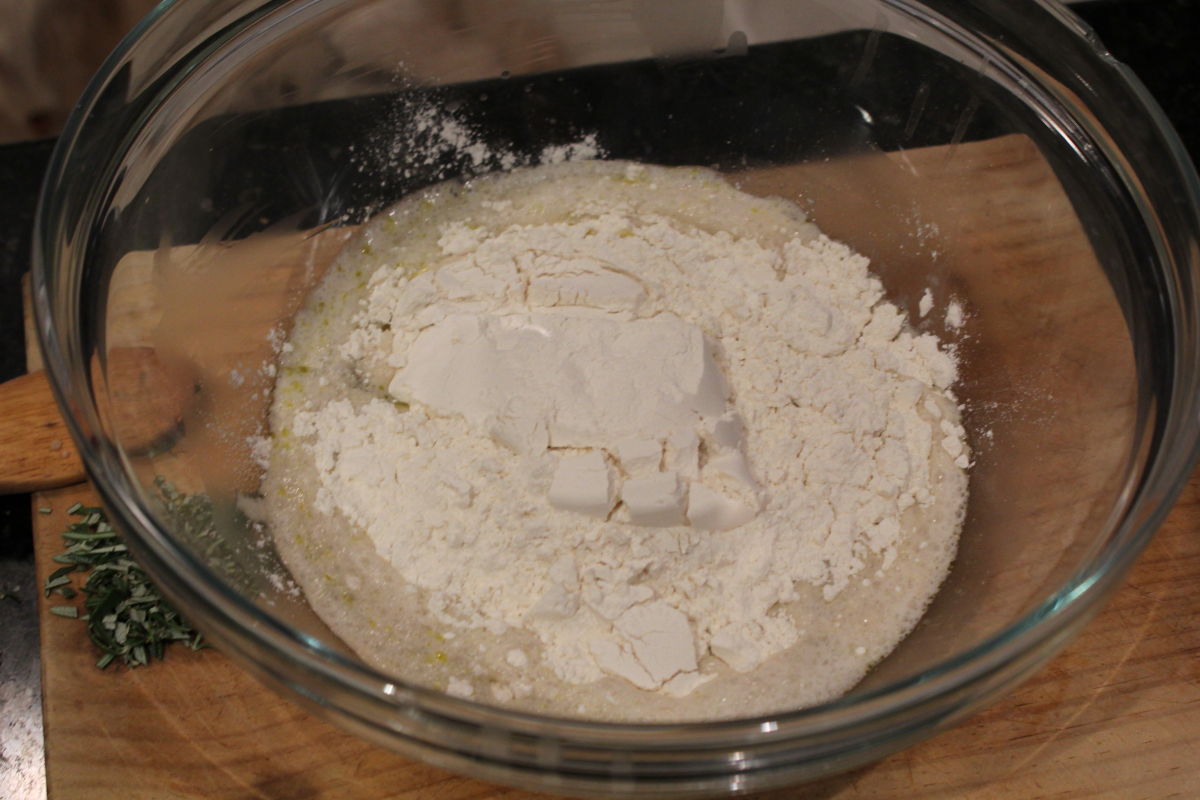
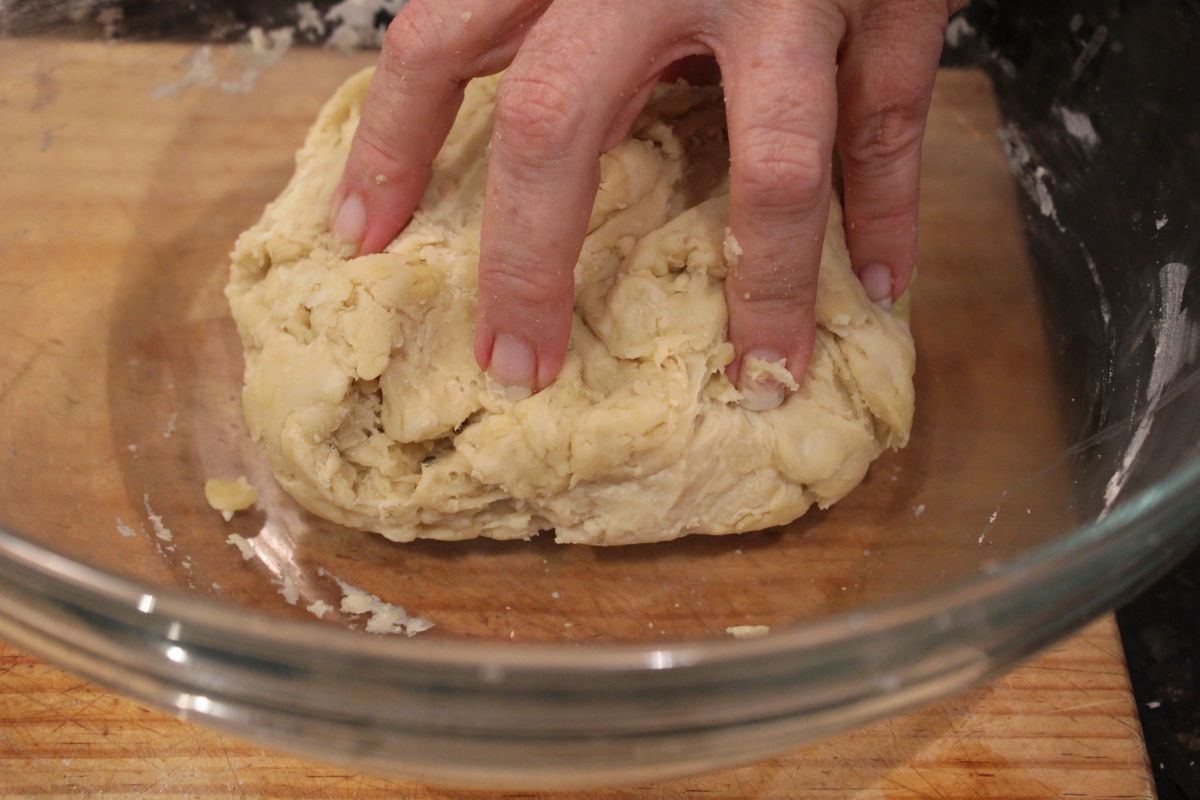
When the yeast mixture was frothy I added the flour and began kneading it.

Put the shaped loaf in the slow cooker which I had lined with baking paper then scattered chopped rosemary on top.

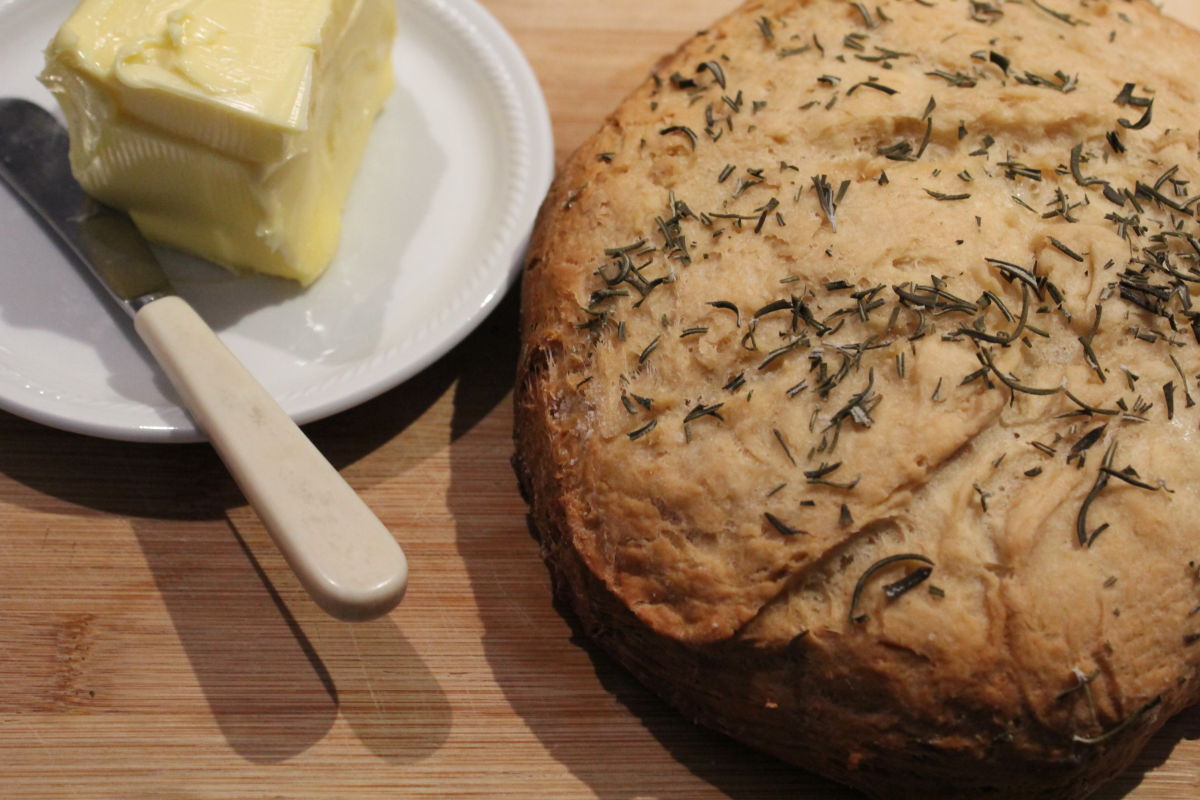
Two hours later and a delicious, aromatic loaf was cooked and ready to eat. The original recipe suggested putting the loaf under the grill for a minute or two to make the top more crusty but we couldn’t wait. Search online for a similar recipe if you are interested. I actually prefer oven baked loaves.

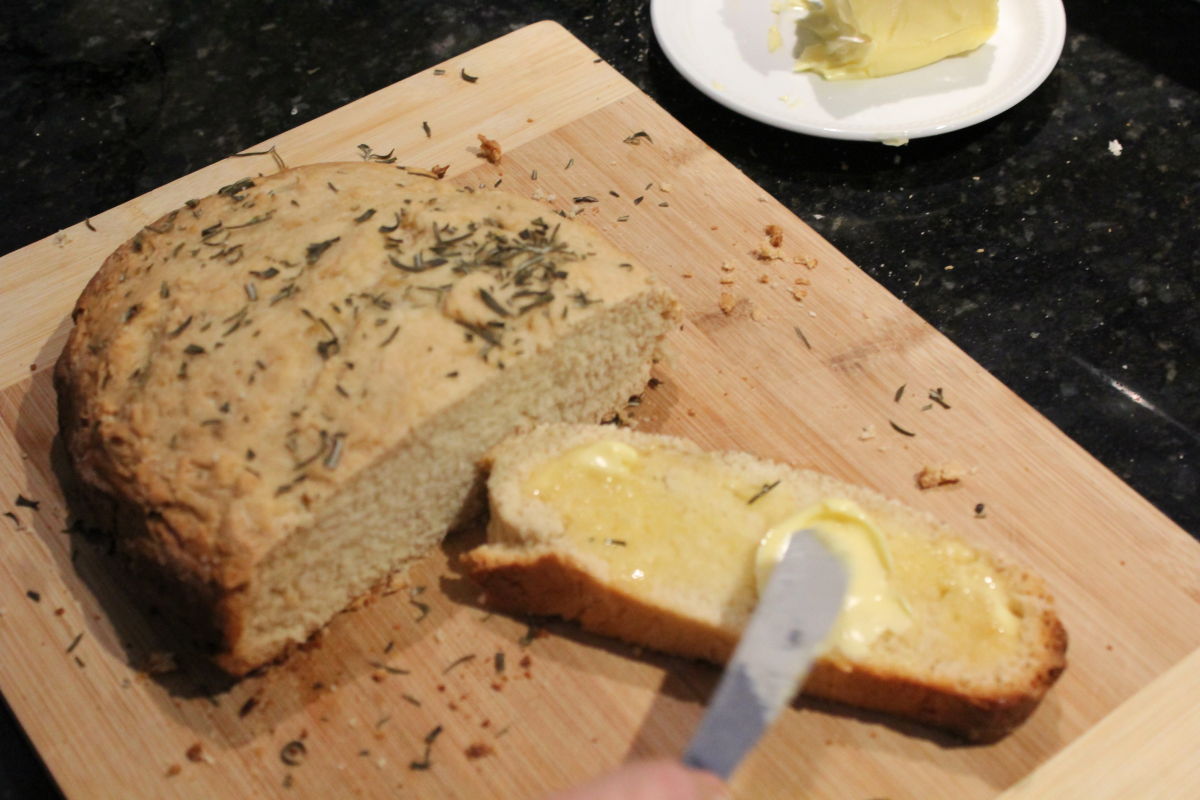
Fresh, warm bread and butter. Wonderful.

Officially, autumn has begun in the southern hemisphere, although the temperatures here are still hot, but slowly dropping. The most obvious change is it gets darker a little earlier. We don’t have day light saving in Western Australia so it is light until quite late in summer.

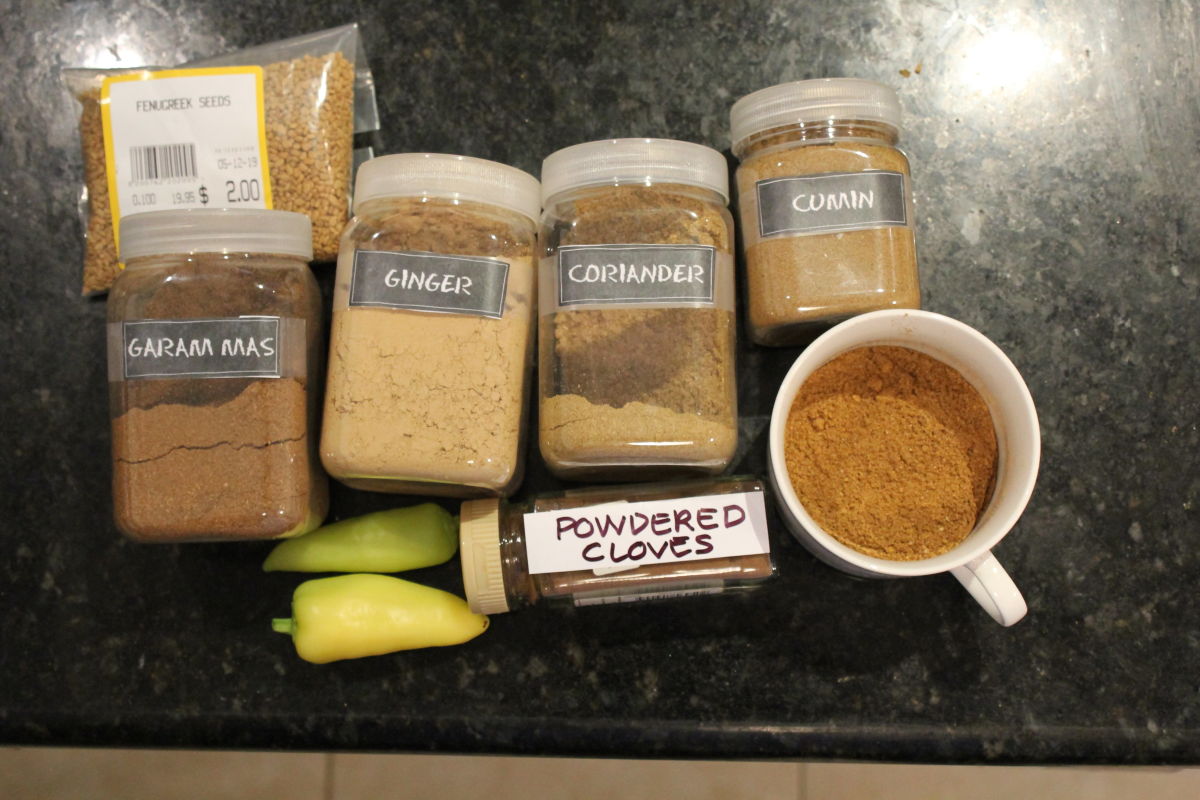
Our reaction to autumn is to make curry! This chicken curry was also made in the slow cooker.

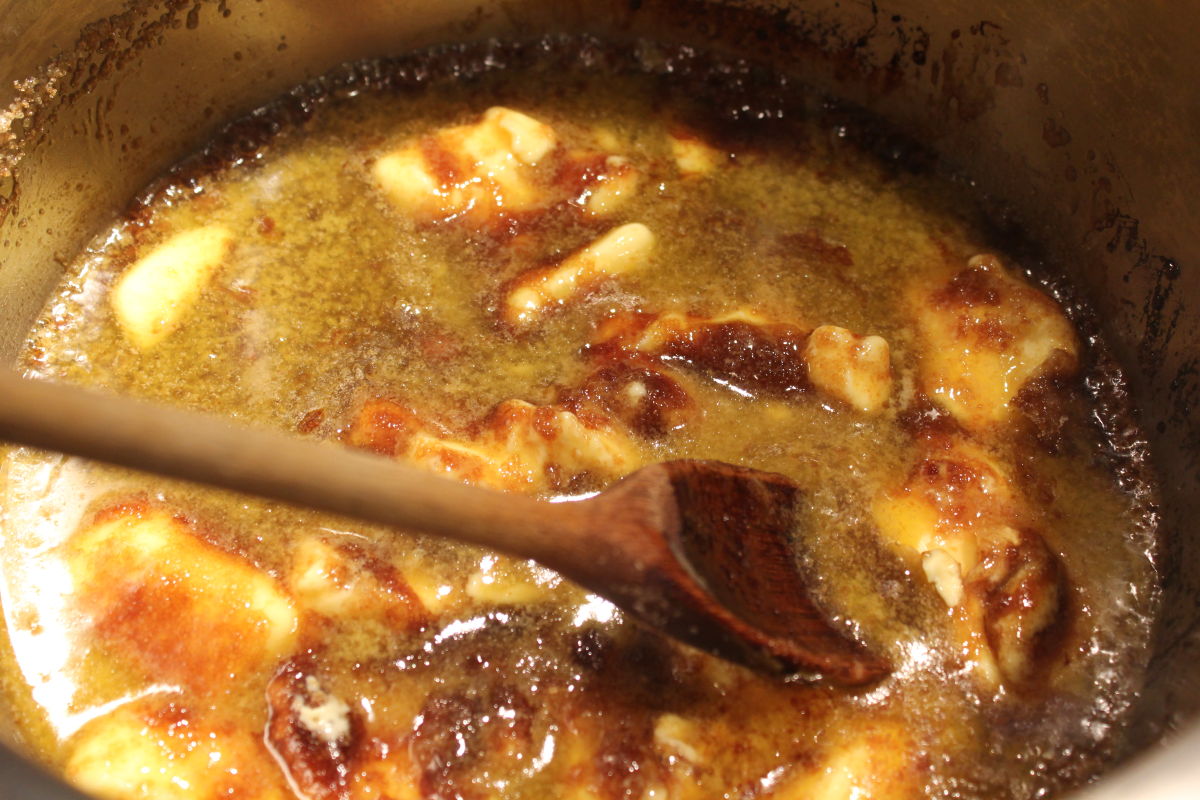
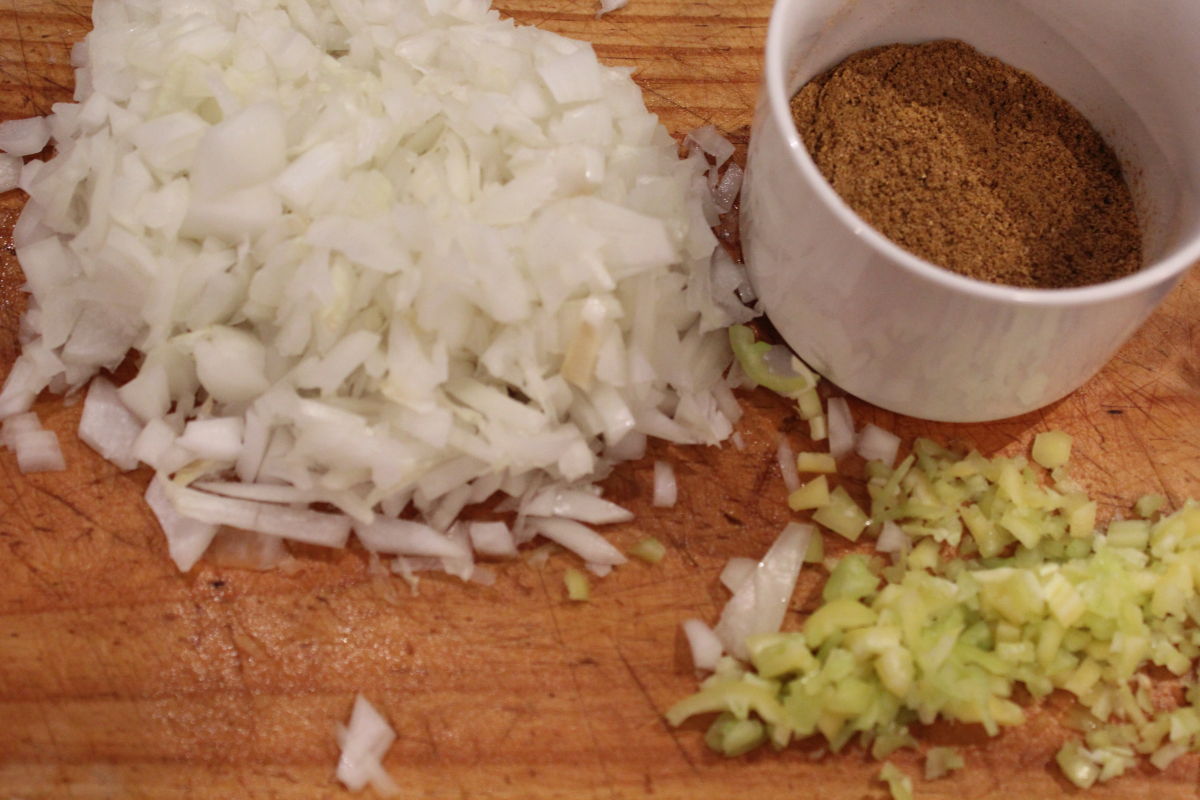
Some chicken dipped in seasoned flour and lots of spices.

And six hours later, a feisty and delicious curry.

We served it on pasta as there was a good amount of sauce. Enough left for the next day, too, and the flavour had matured beautifully.


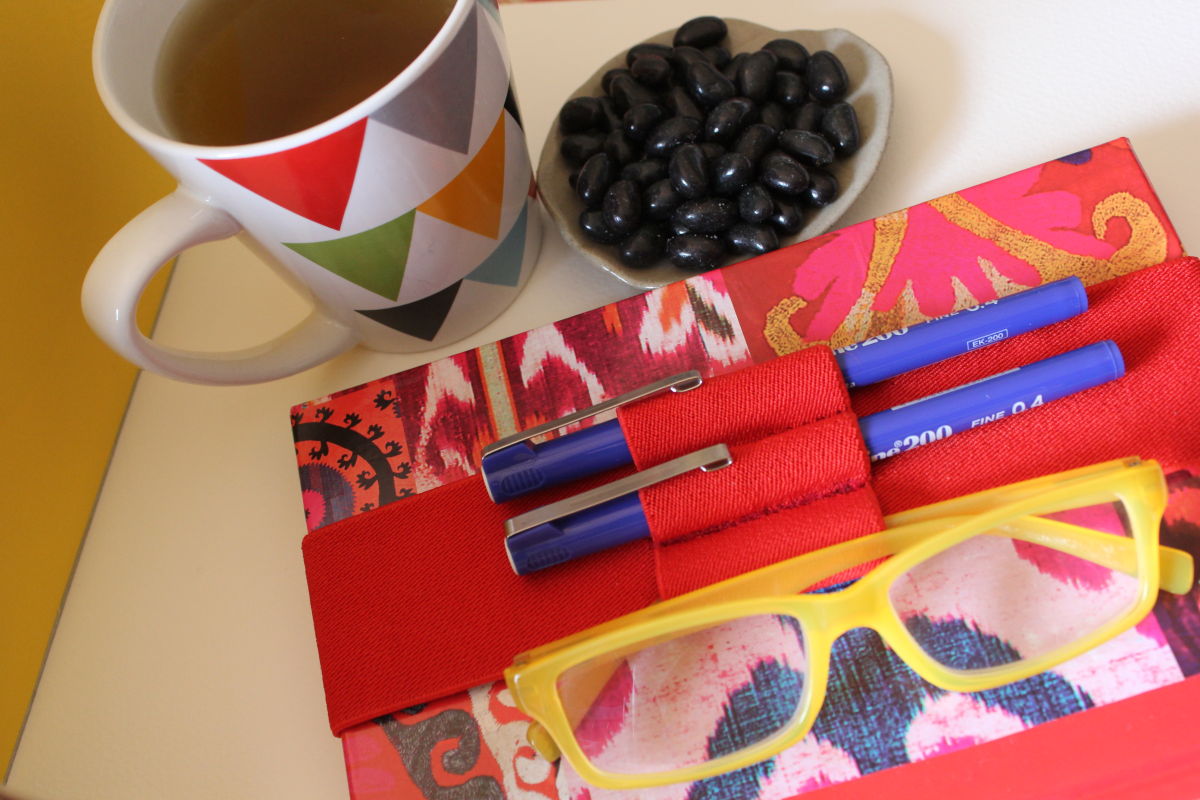
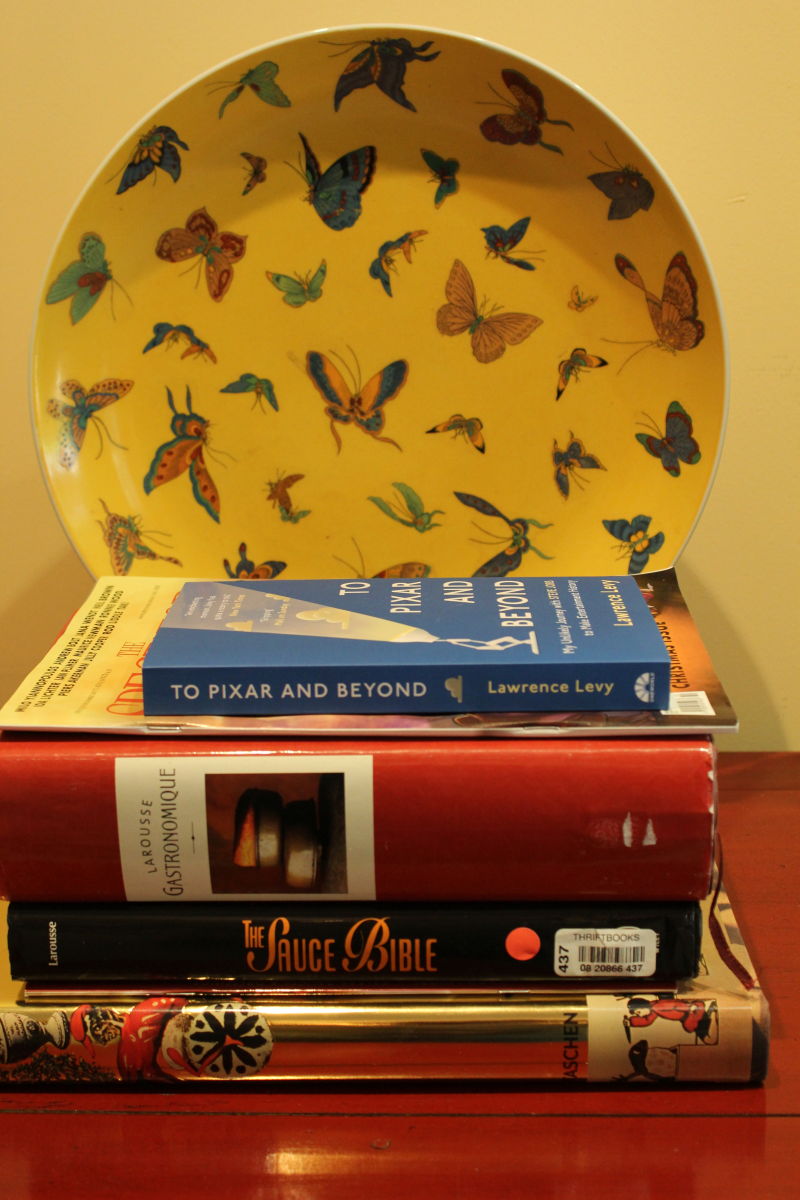
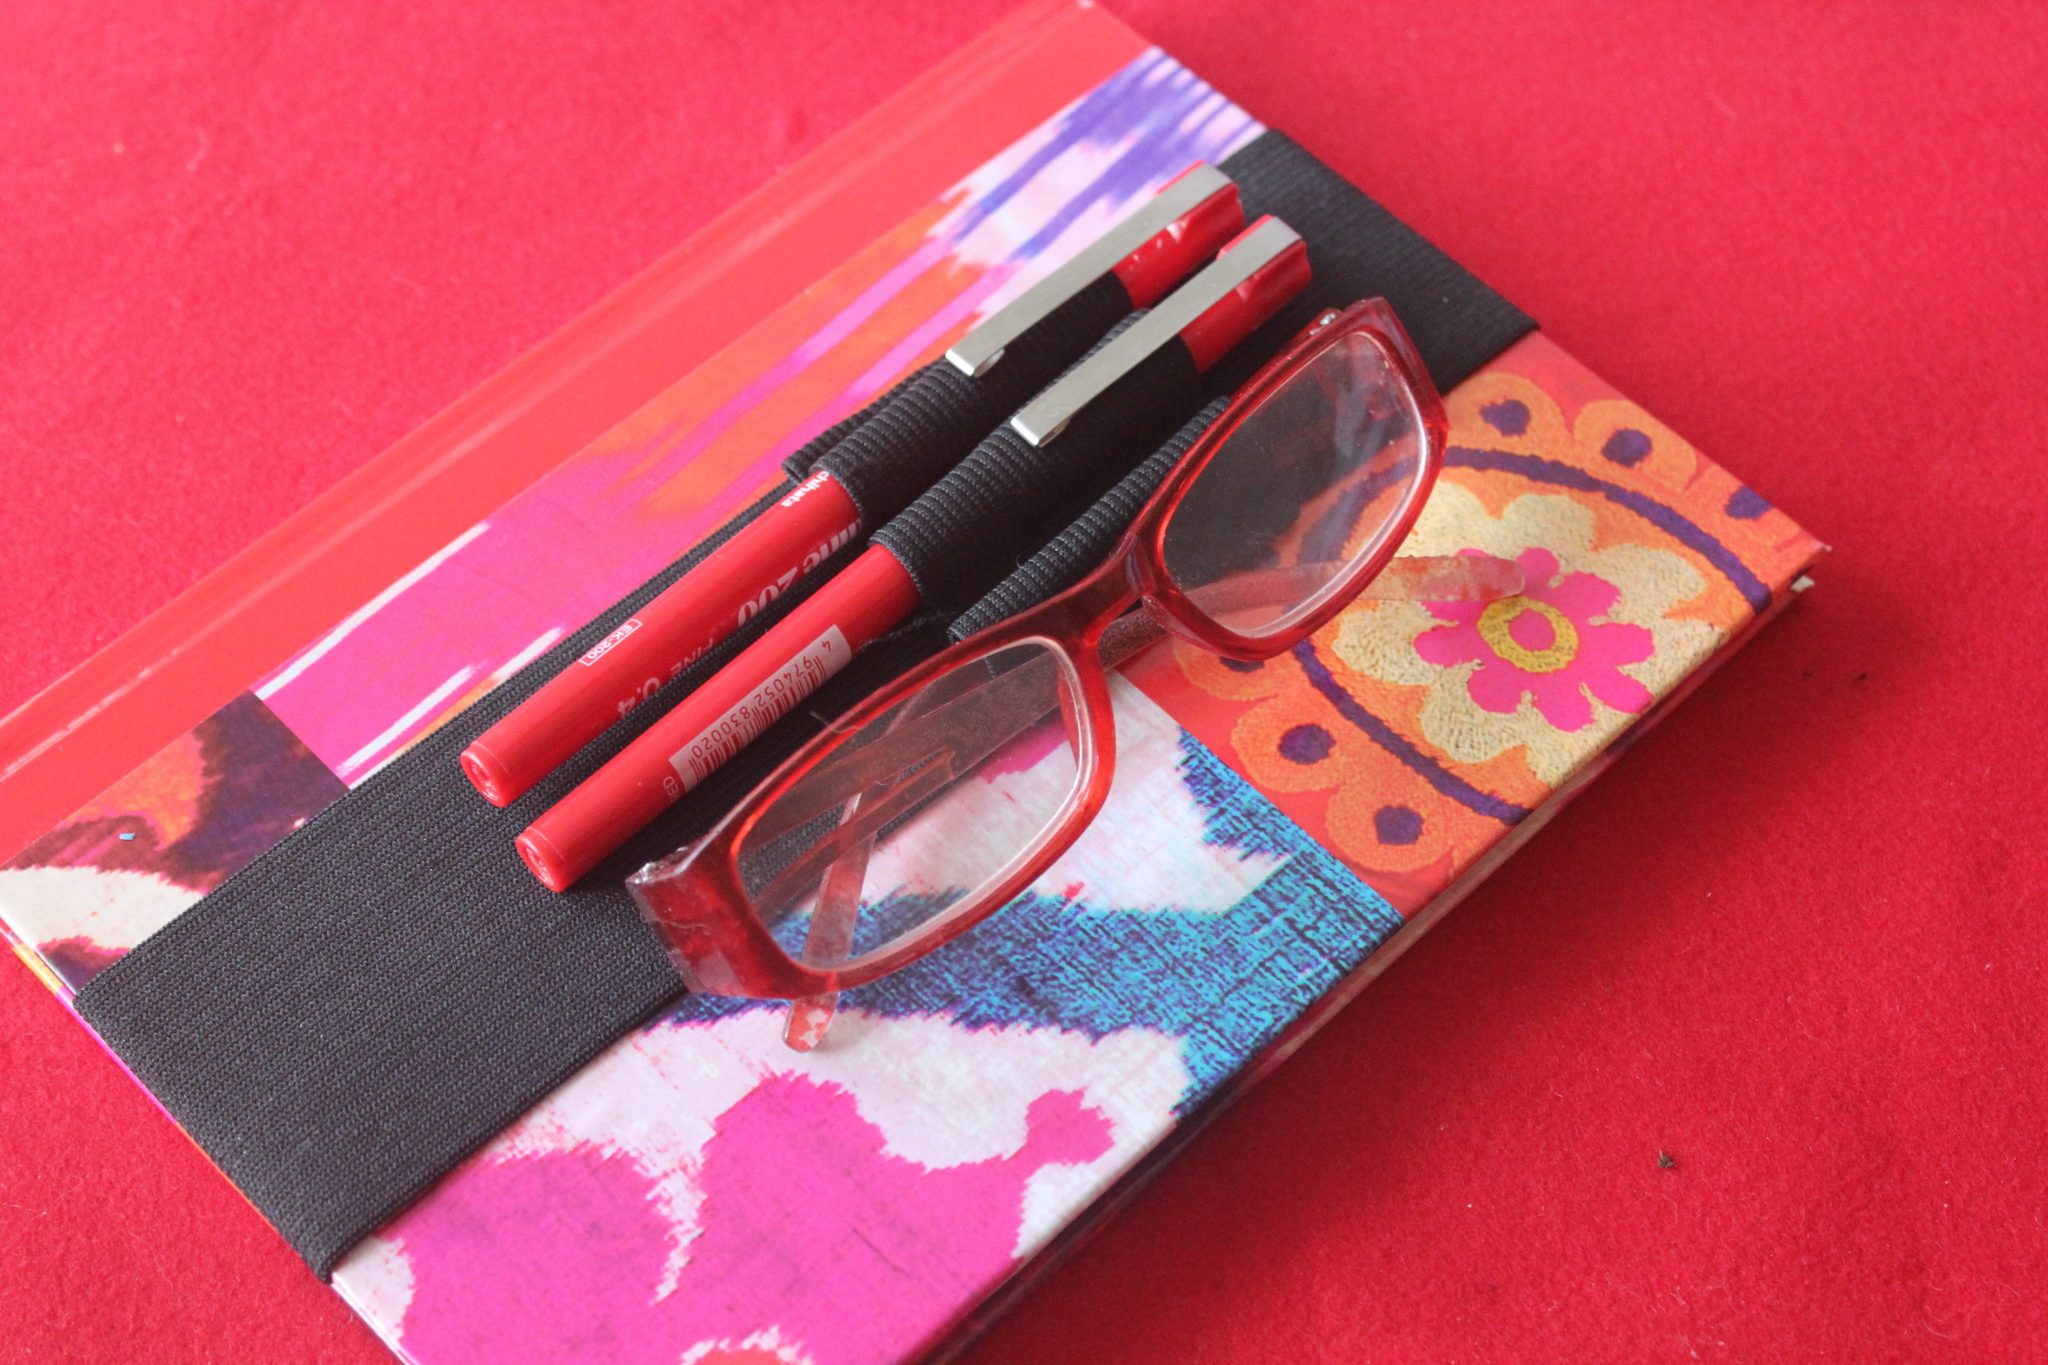
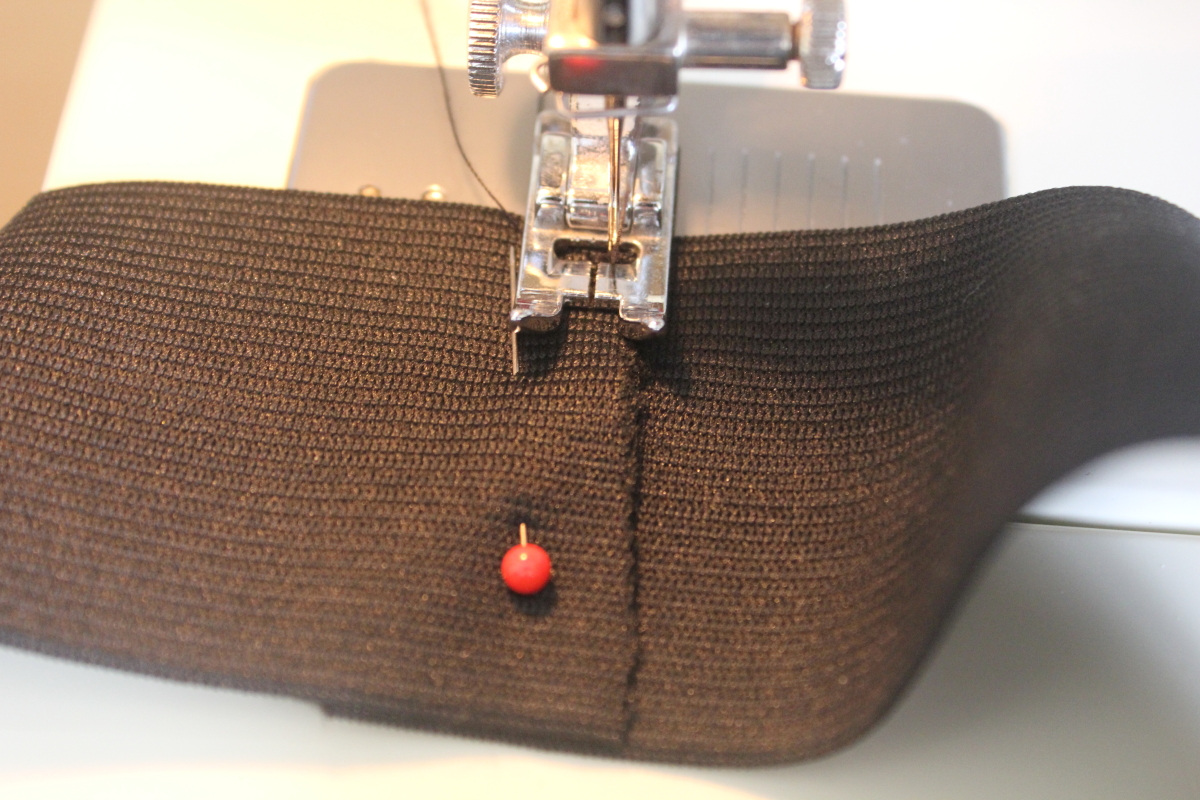
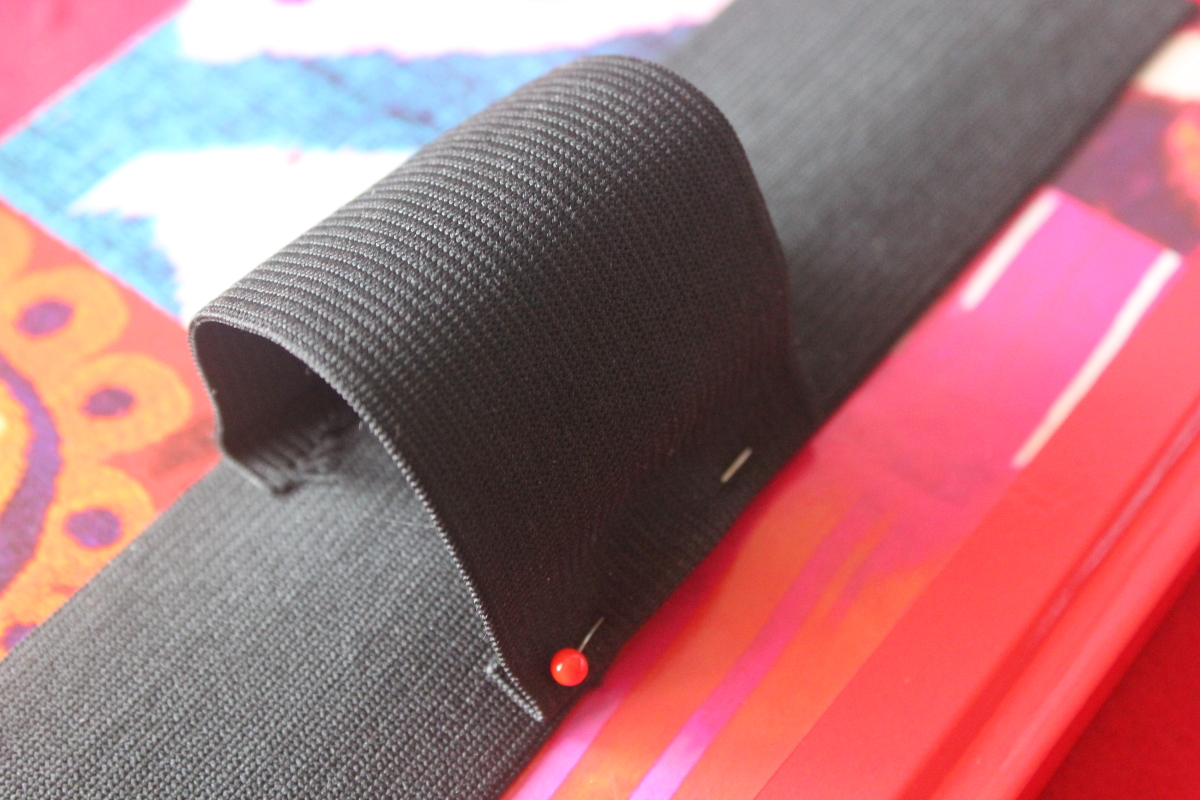
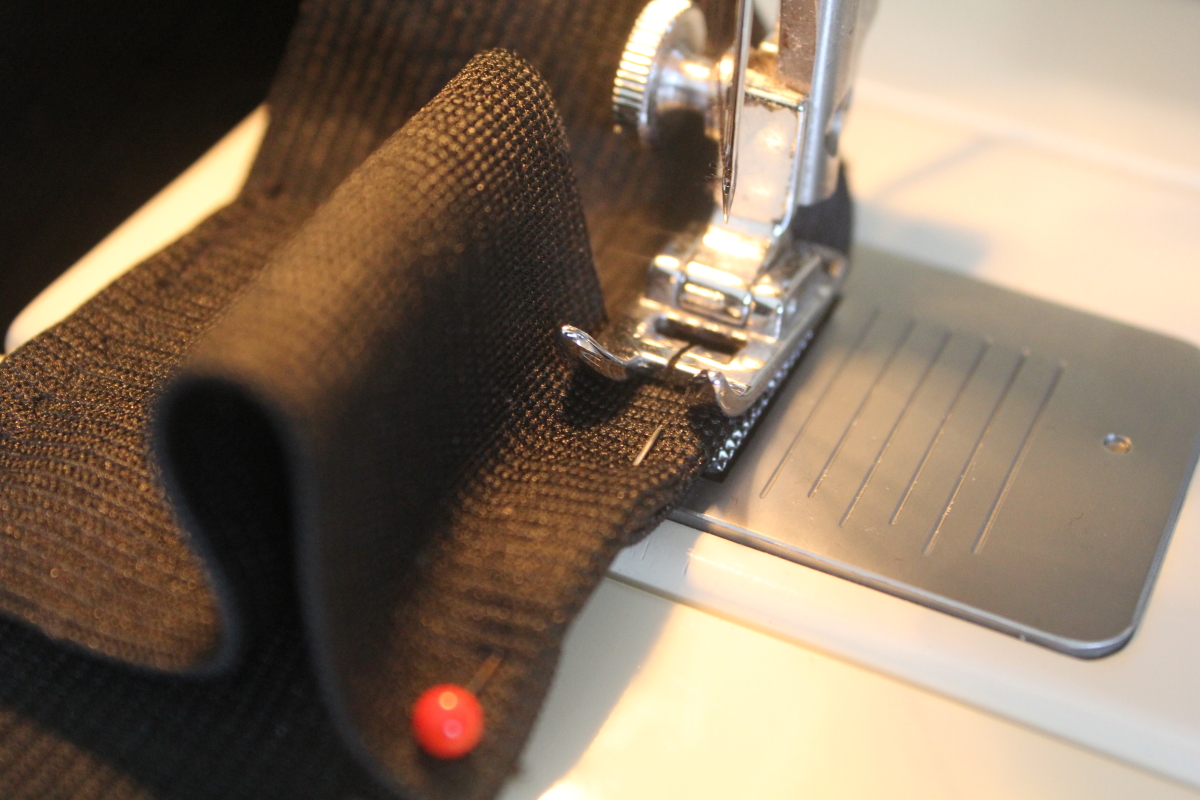
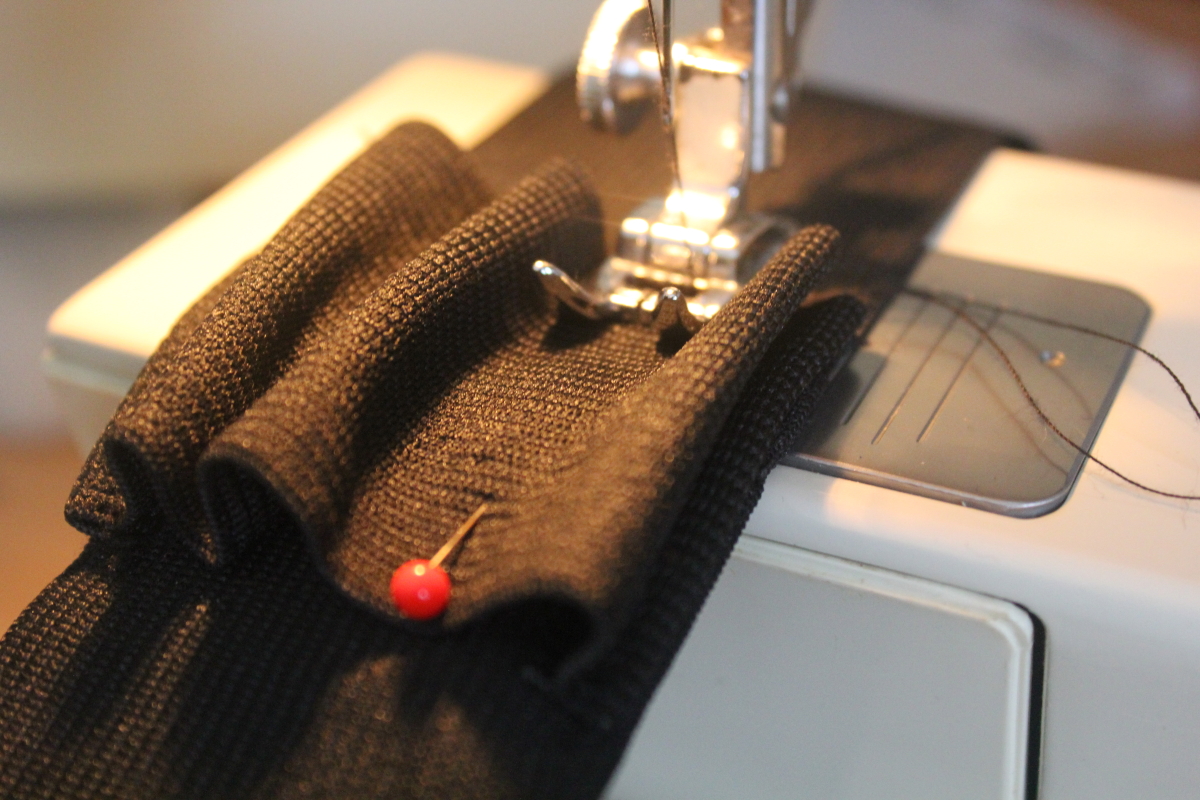
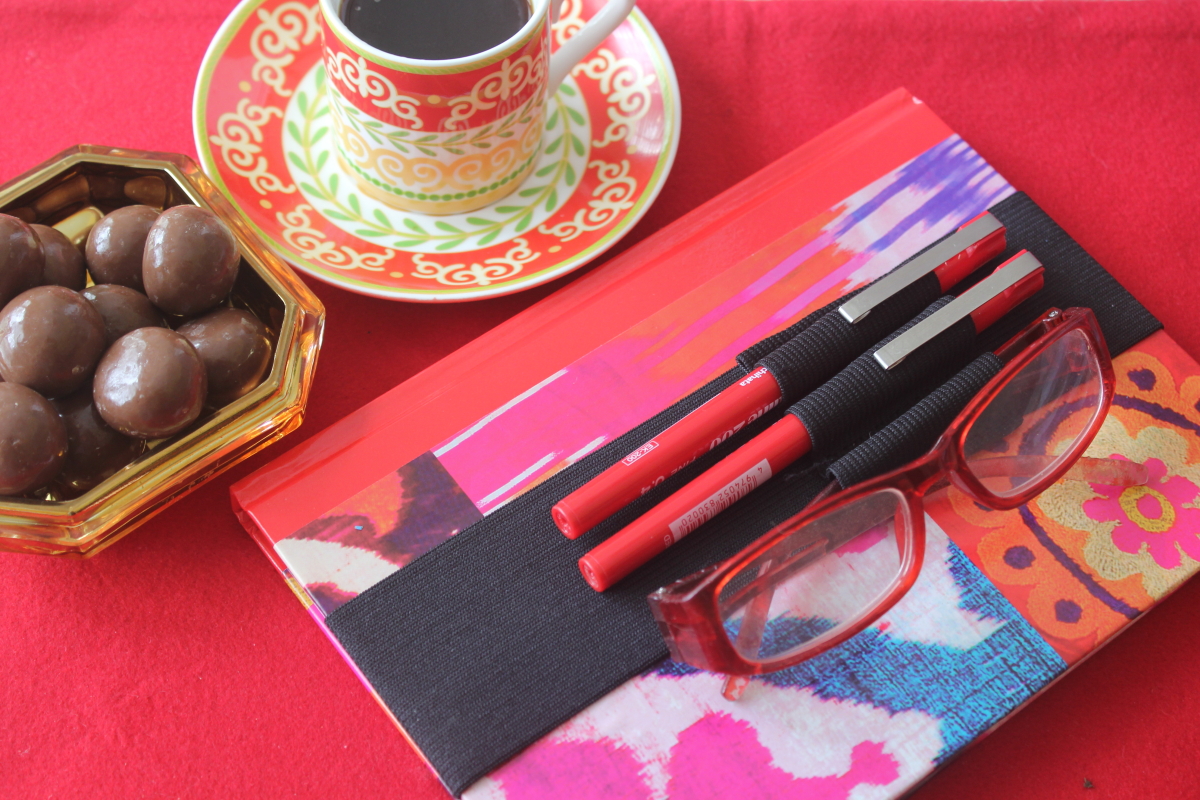
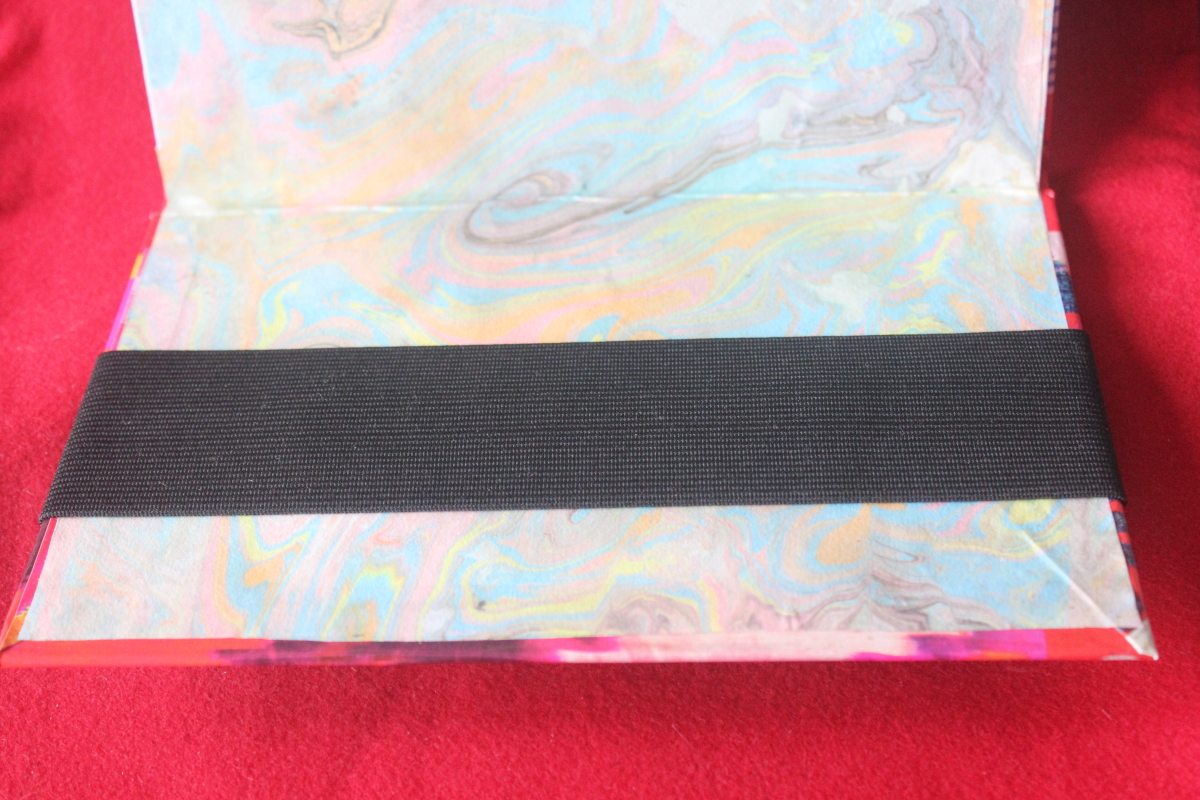
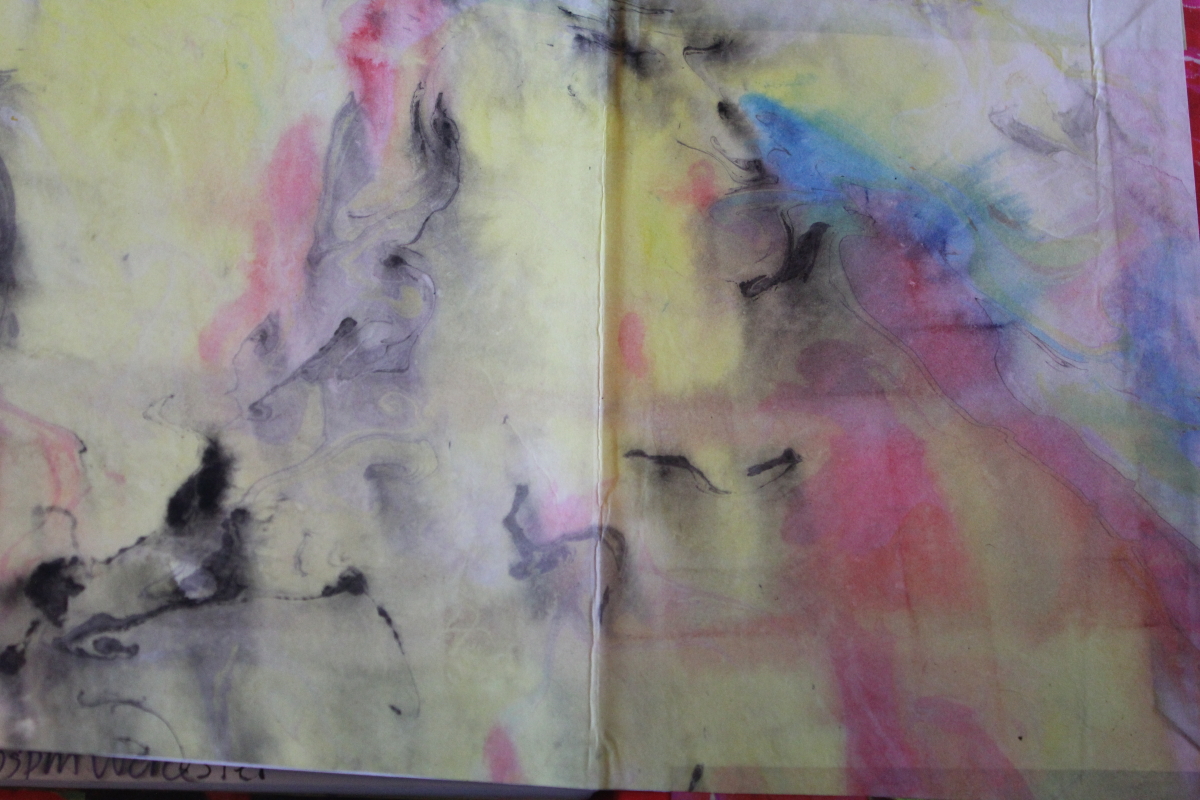
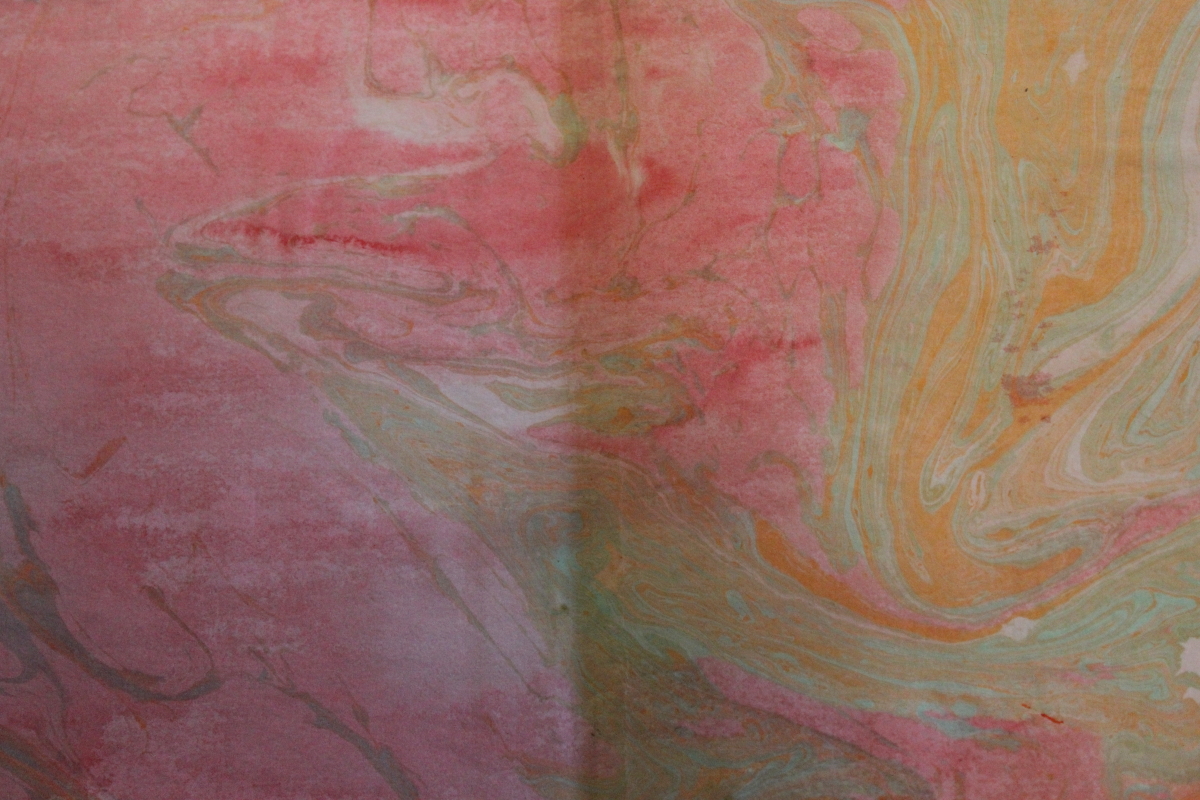
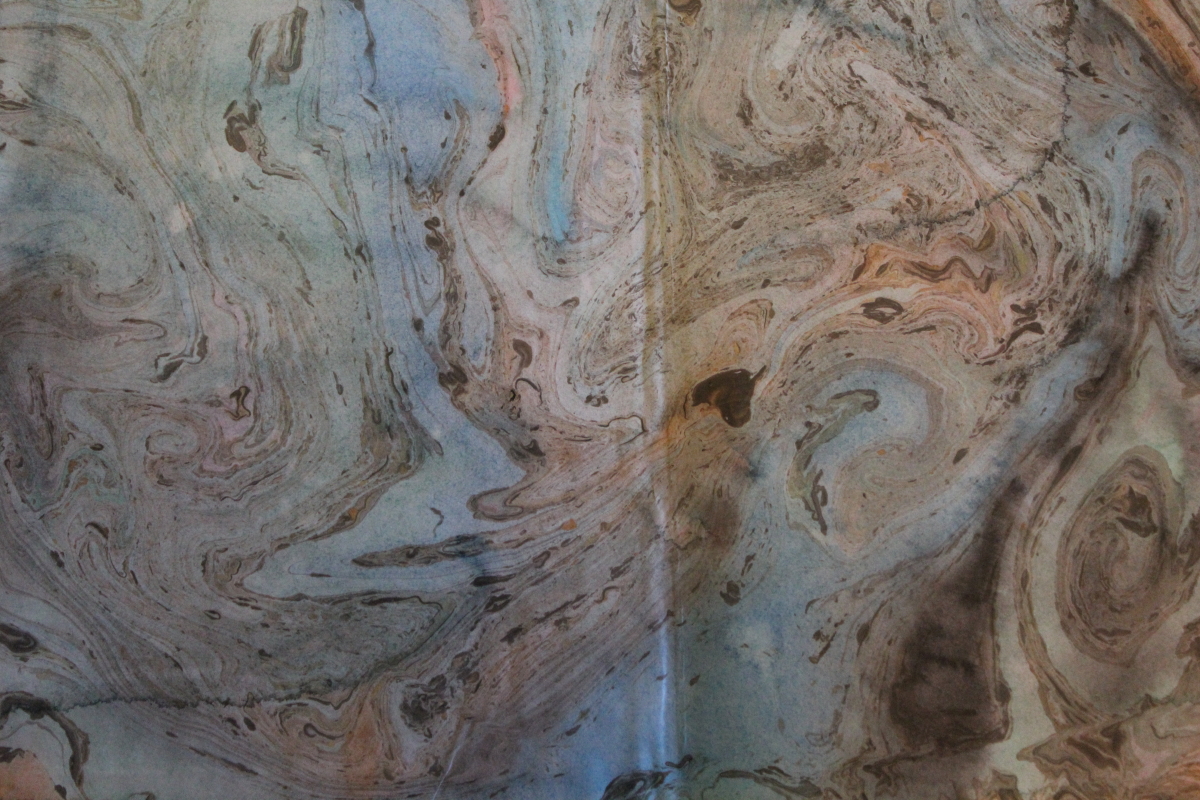
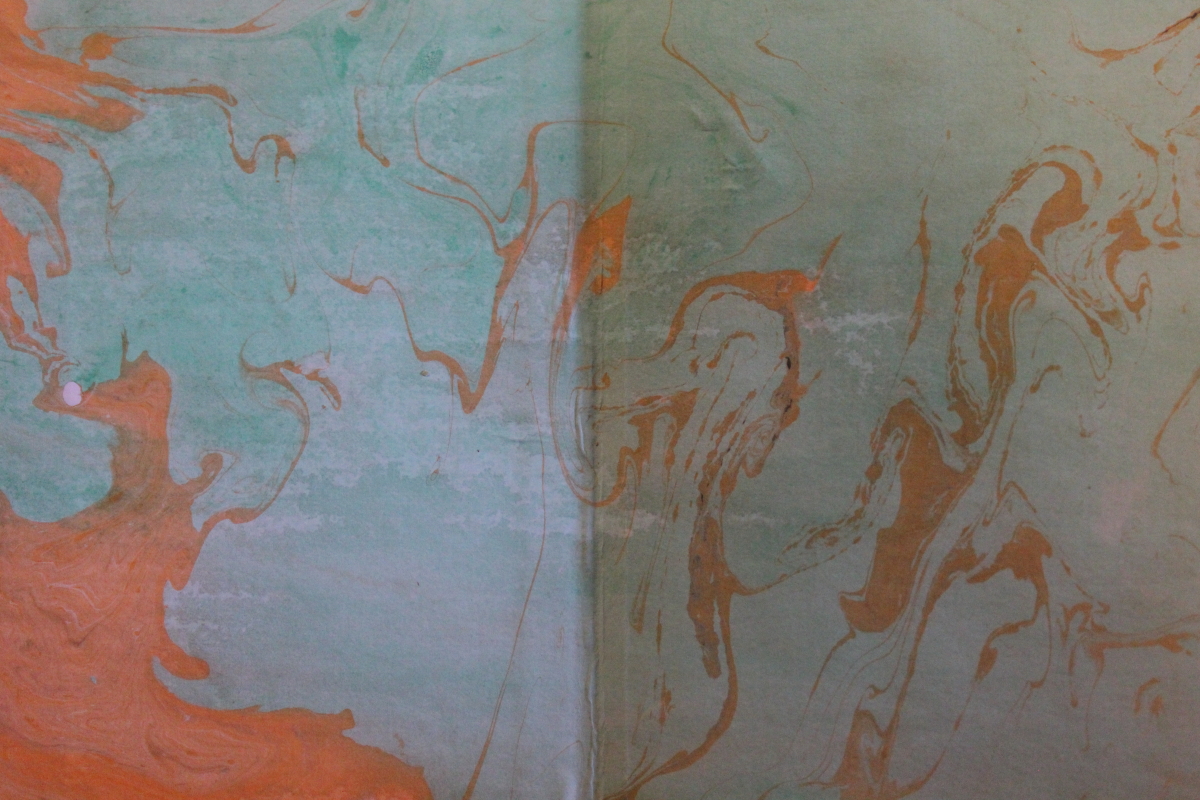
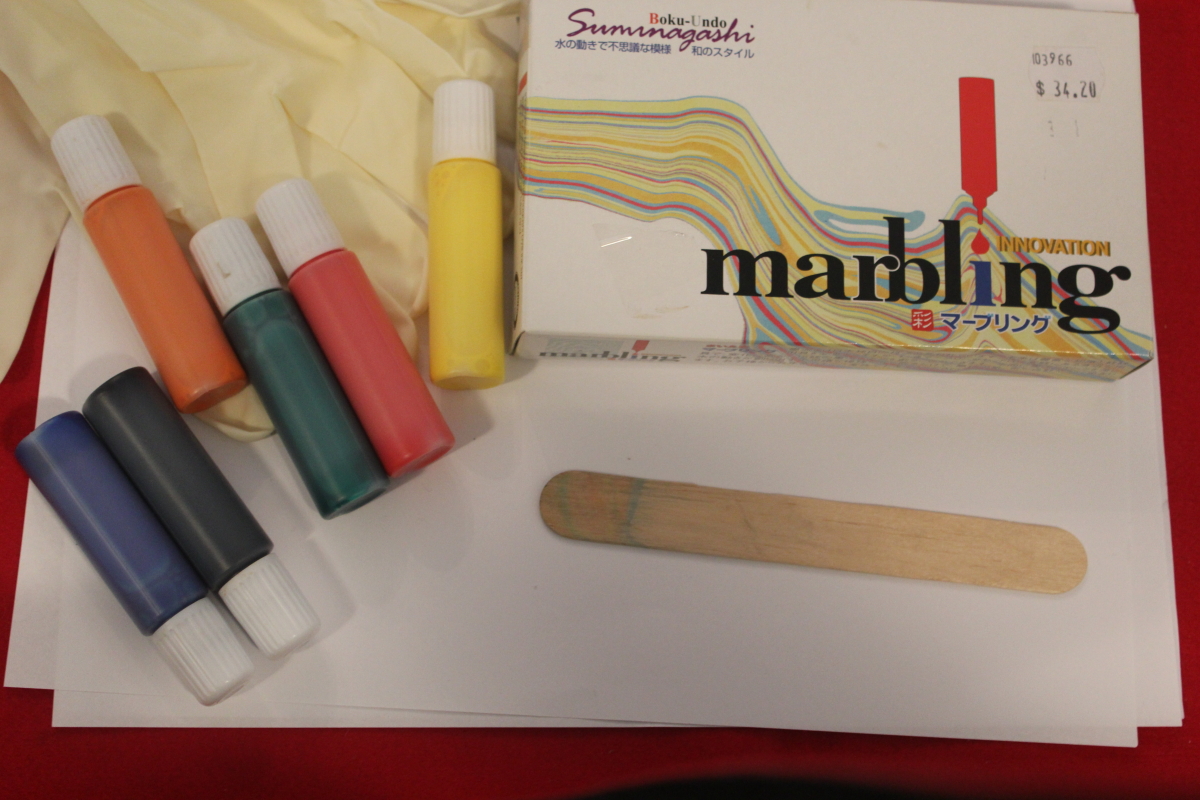
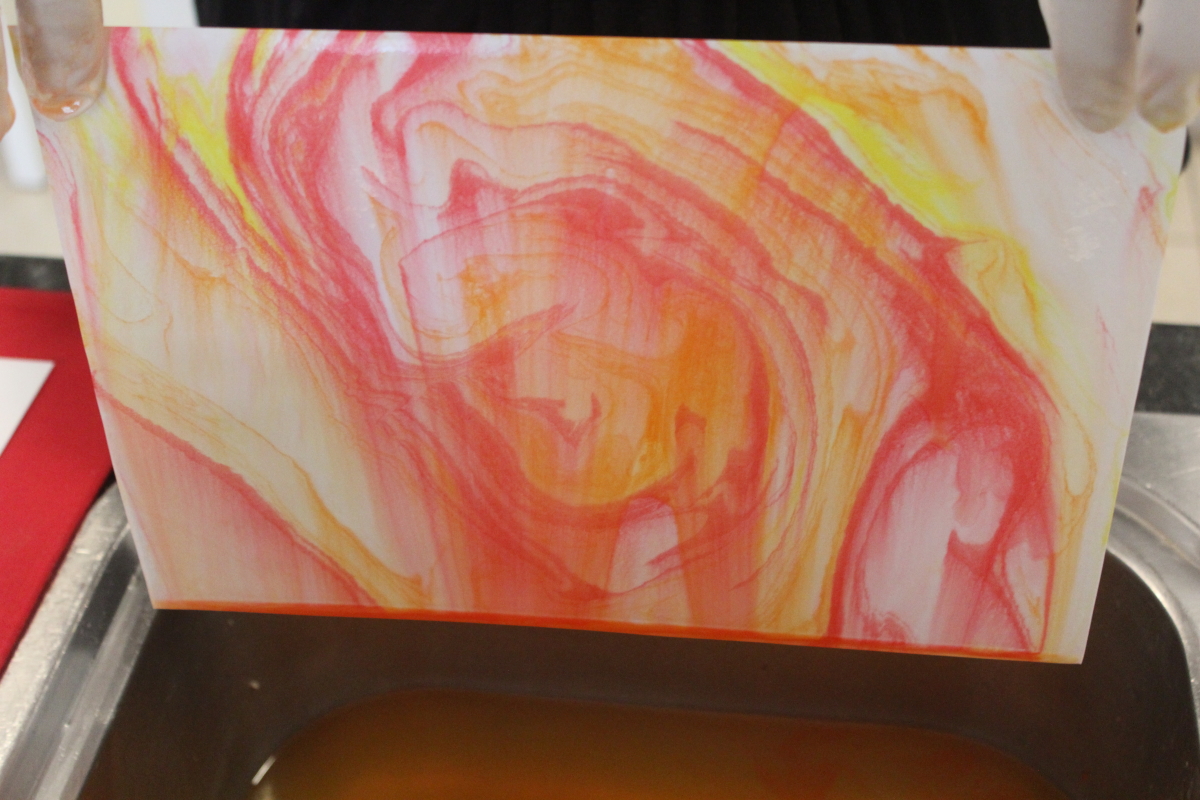
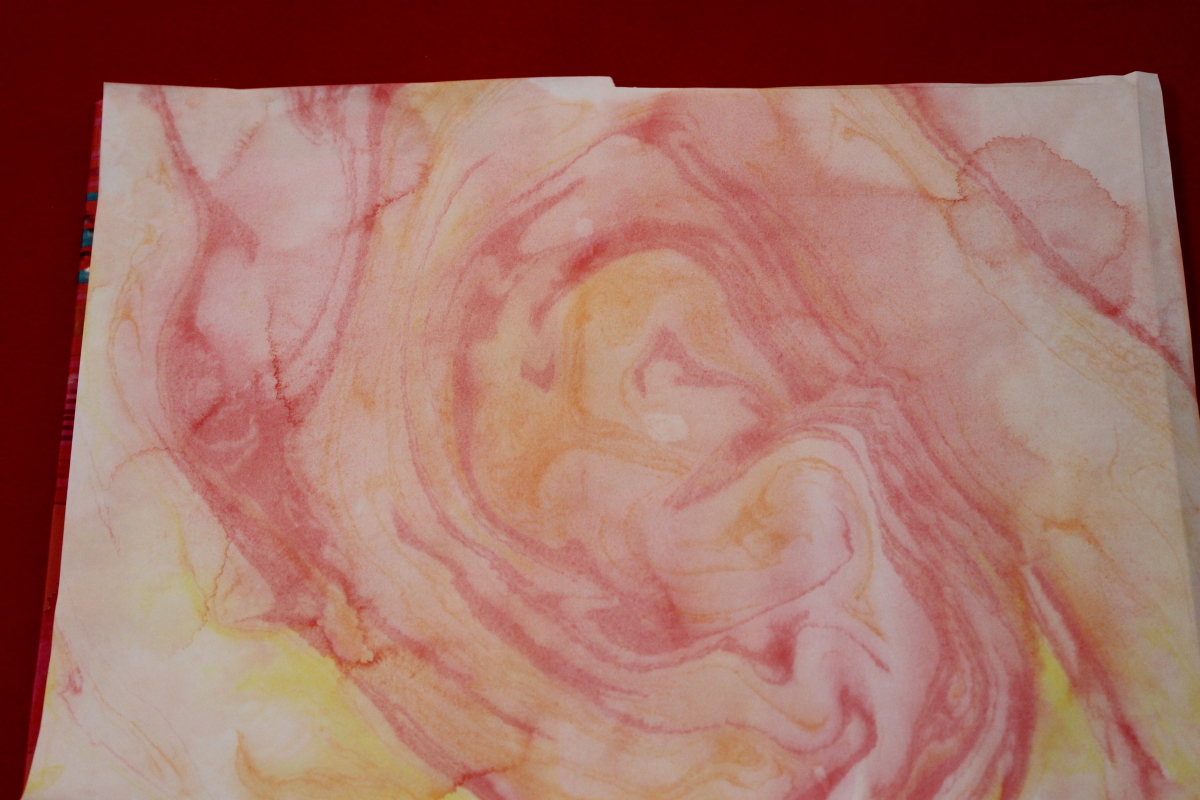
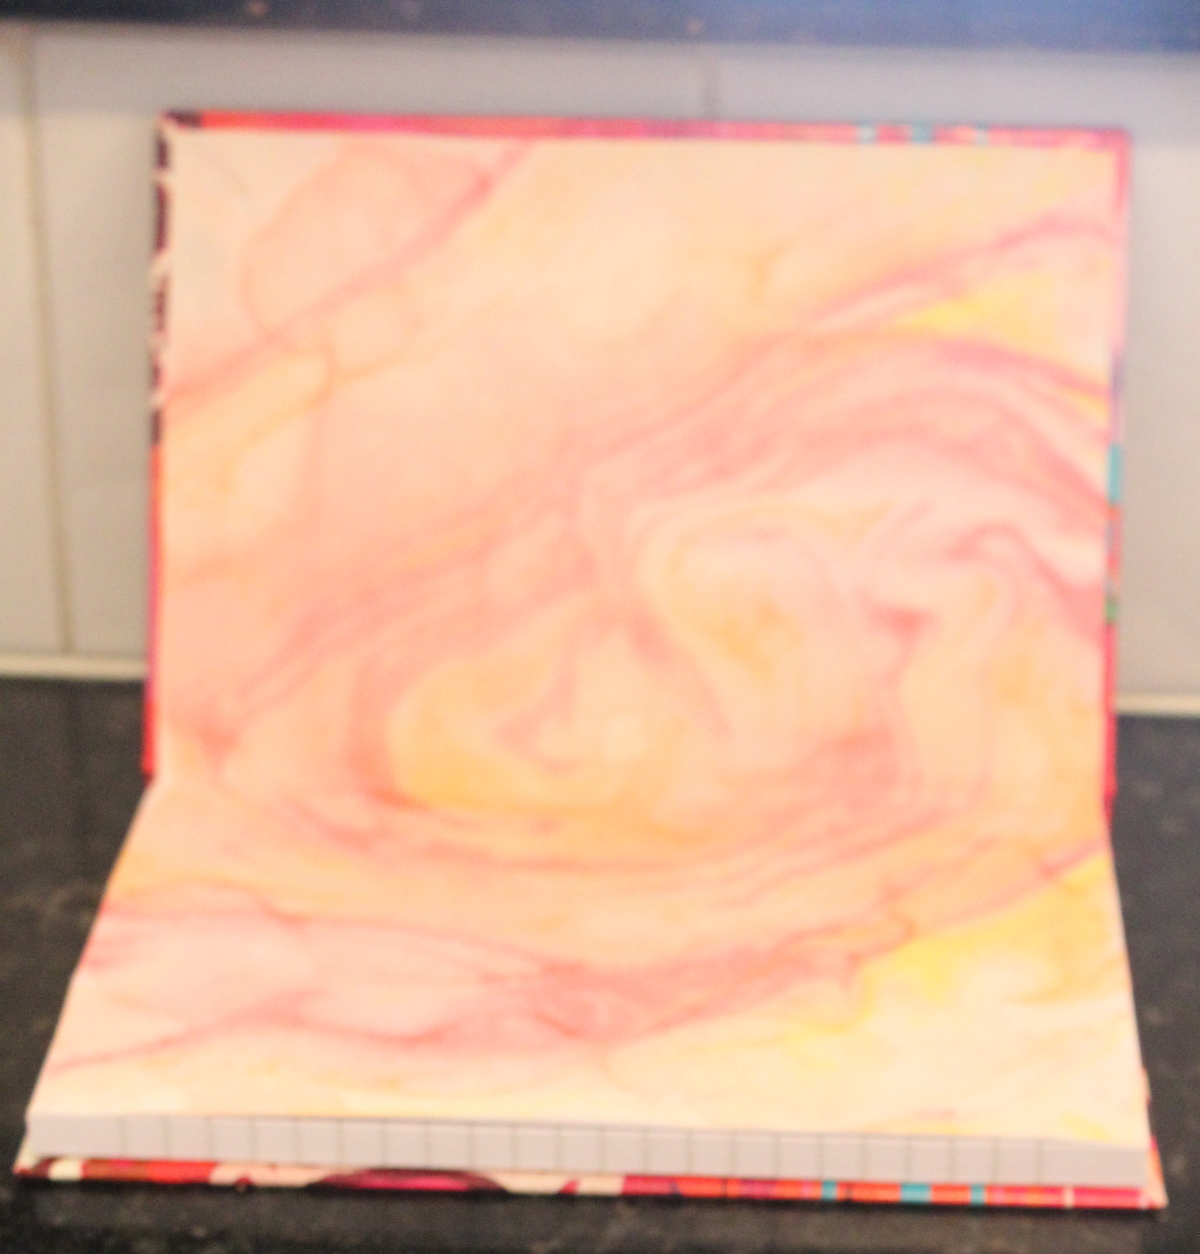
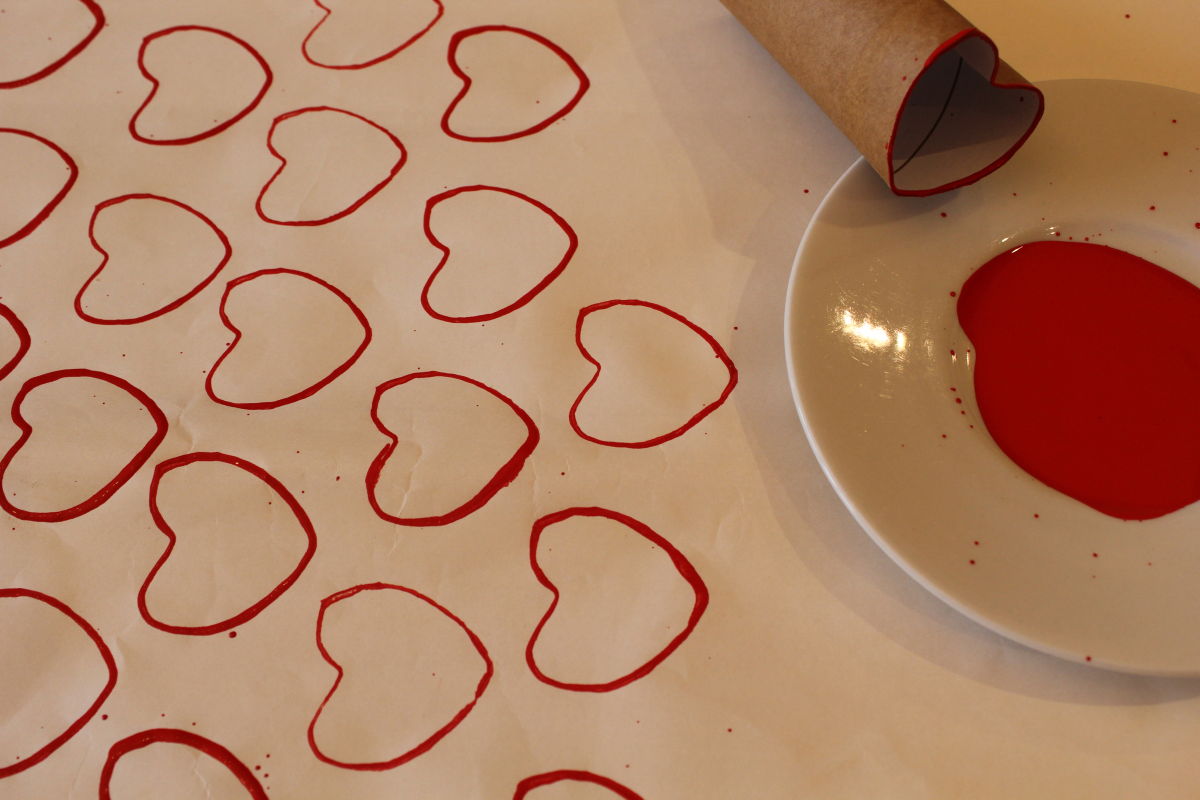
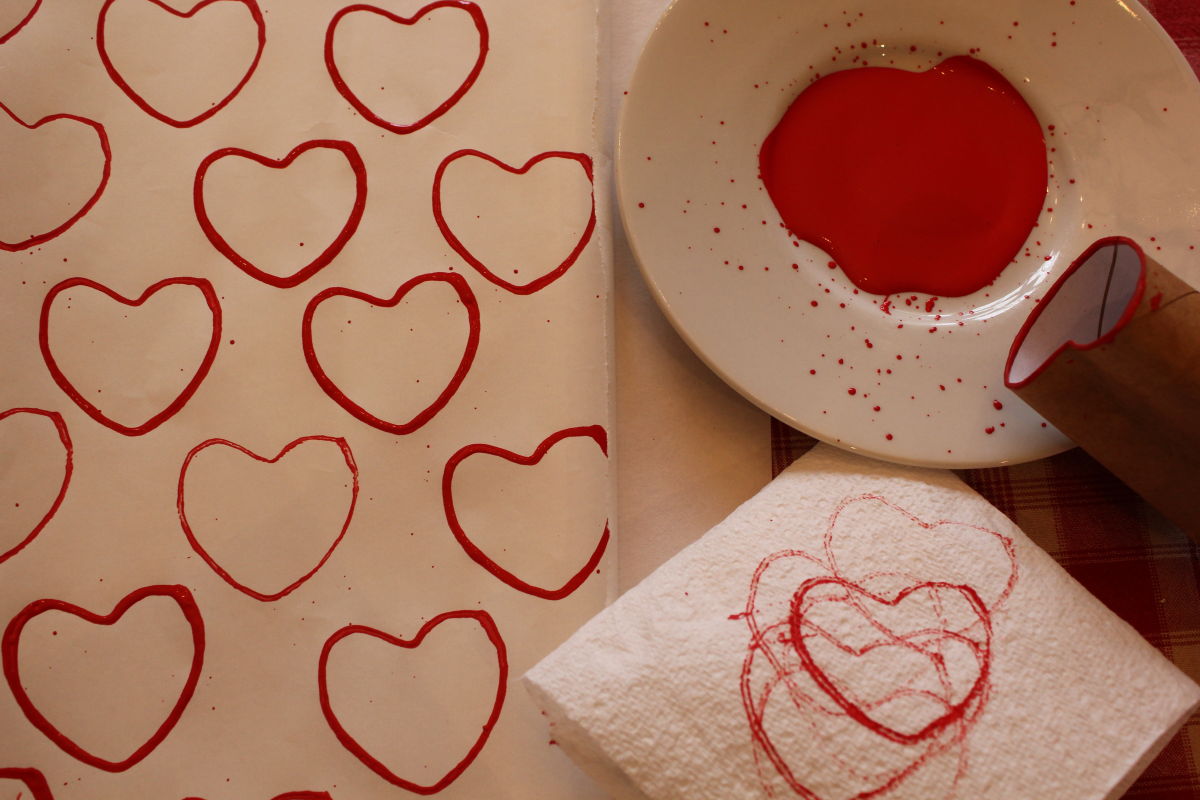
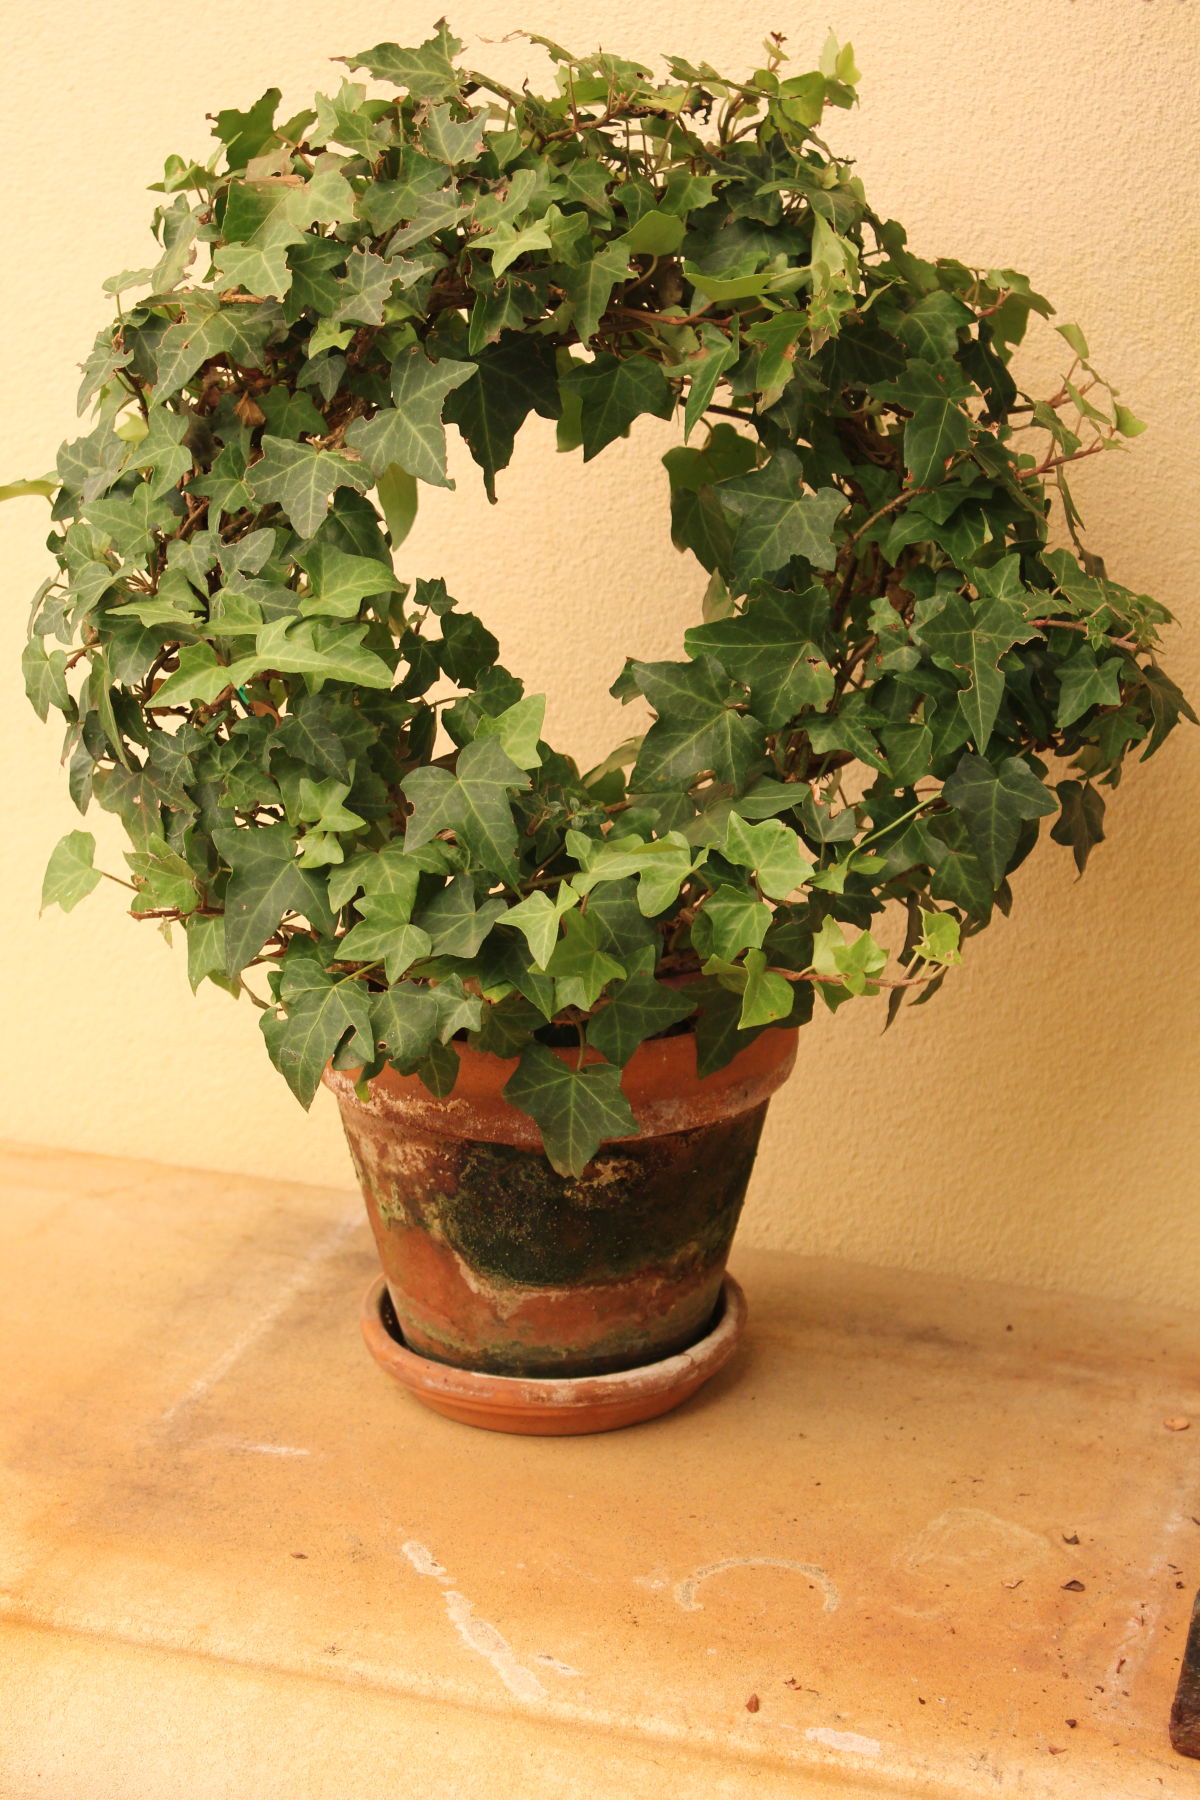
To mark autumn I made a new pen and glasses elastic holder in red for my diary. As many of you know, I’ve written in my diary every night for many, many years and described how I covered them, printed the marbled front and back lining paper and also the elastic holder here.

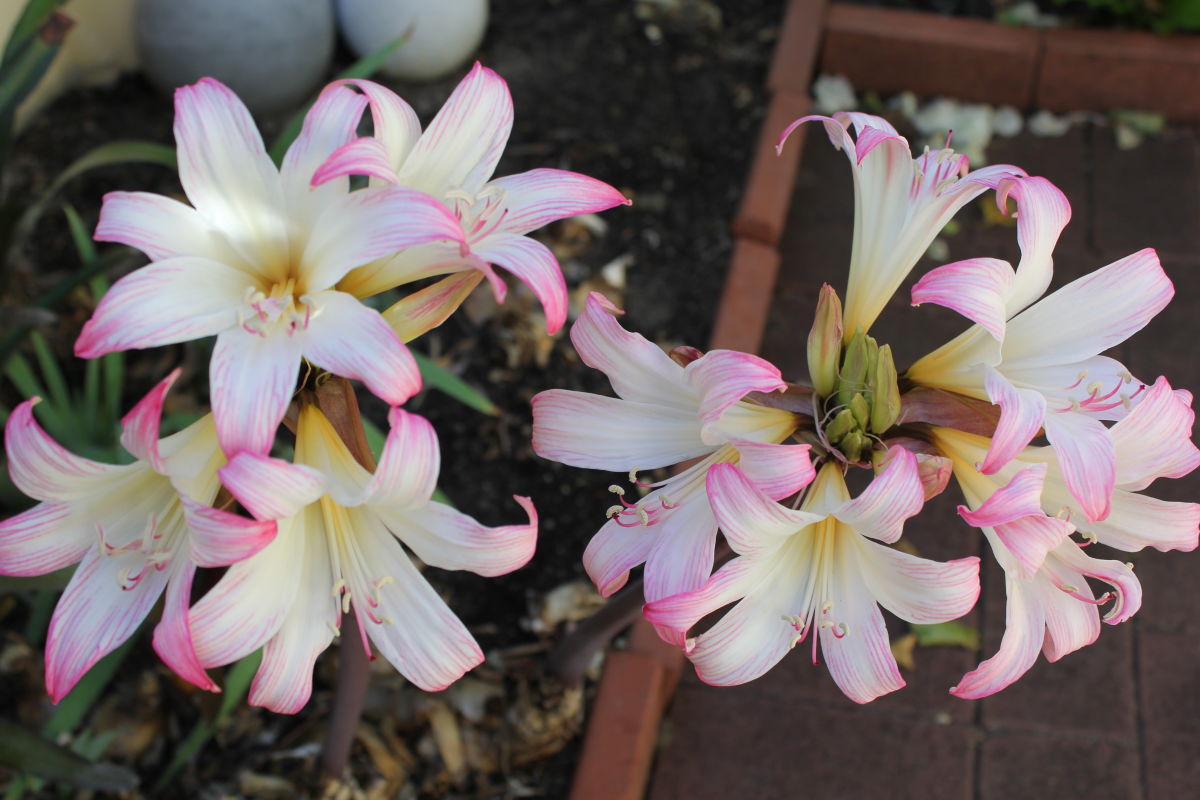
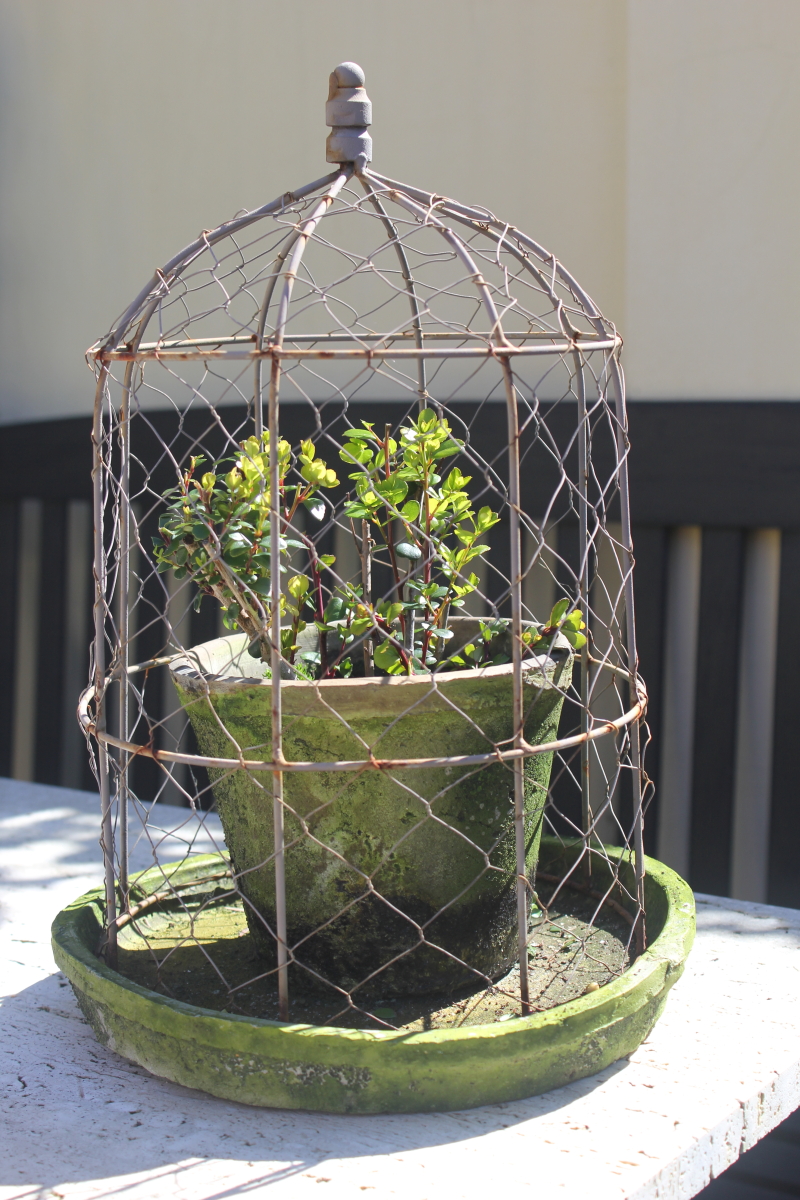
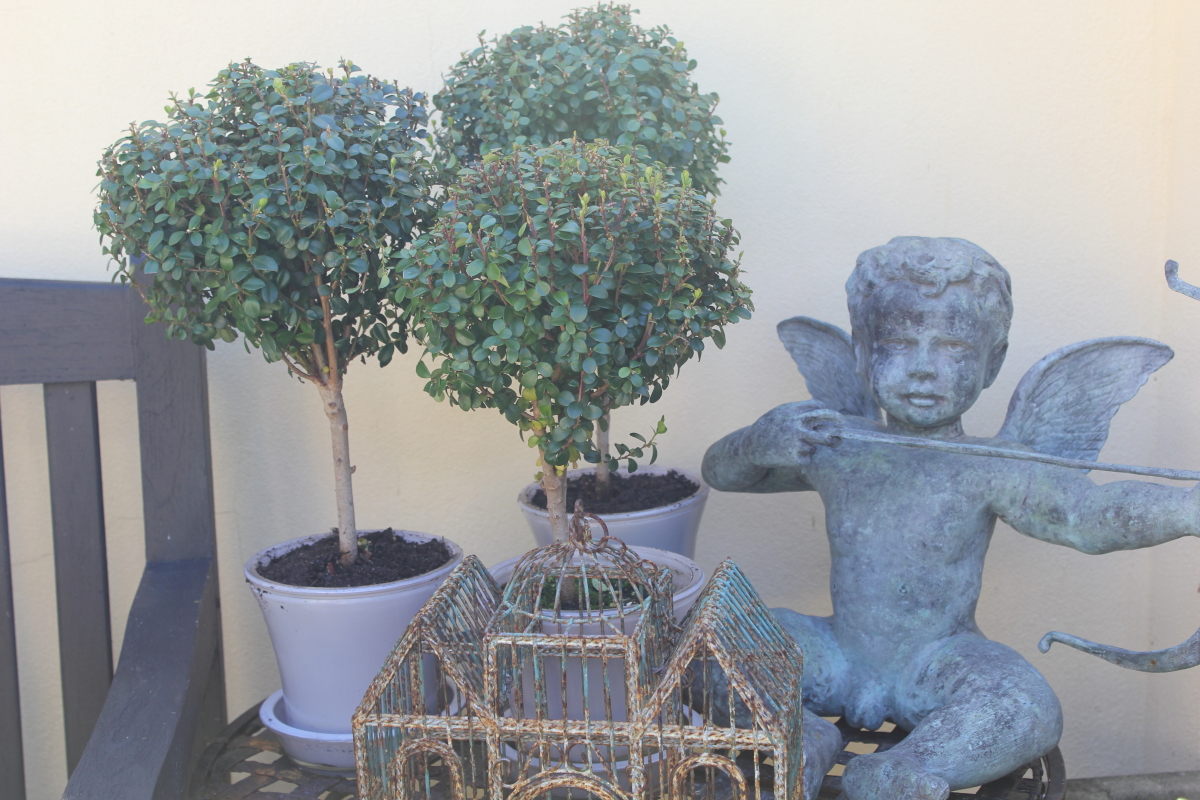
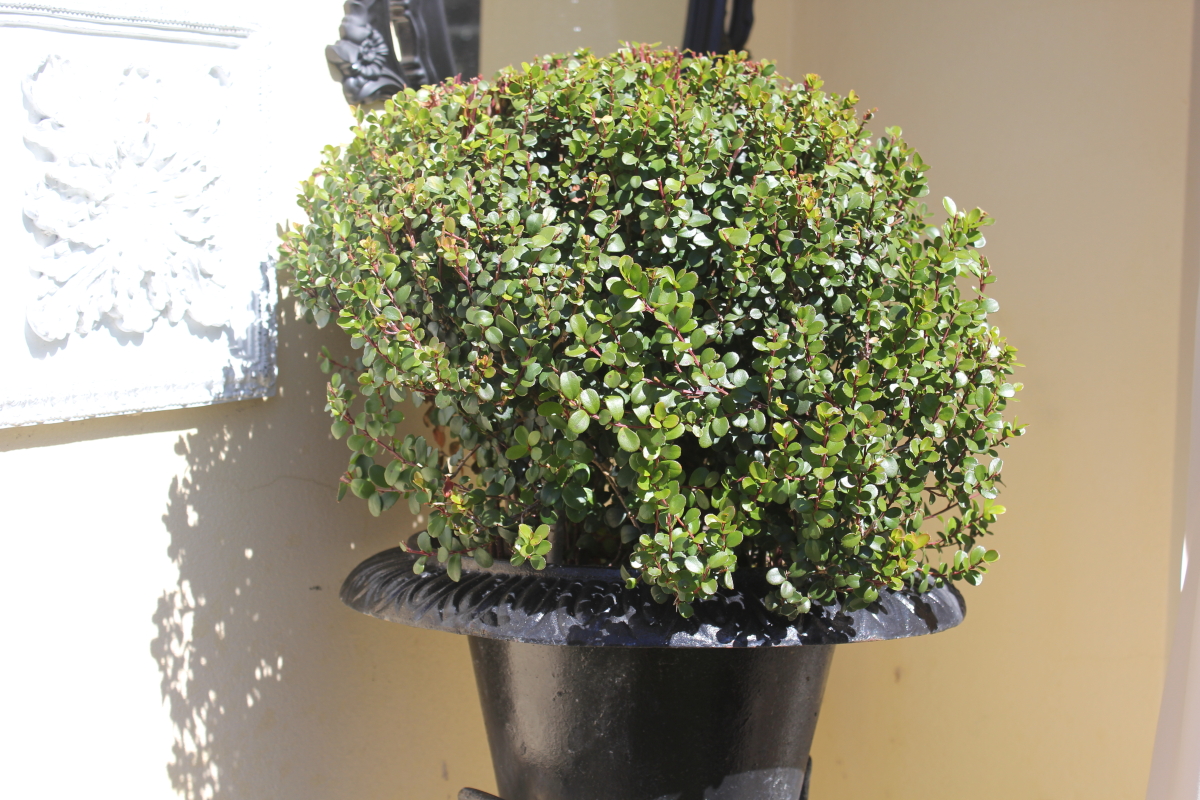
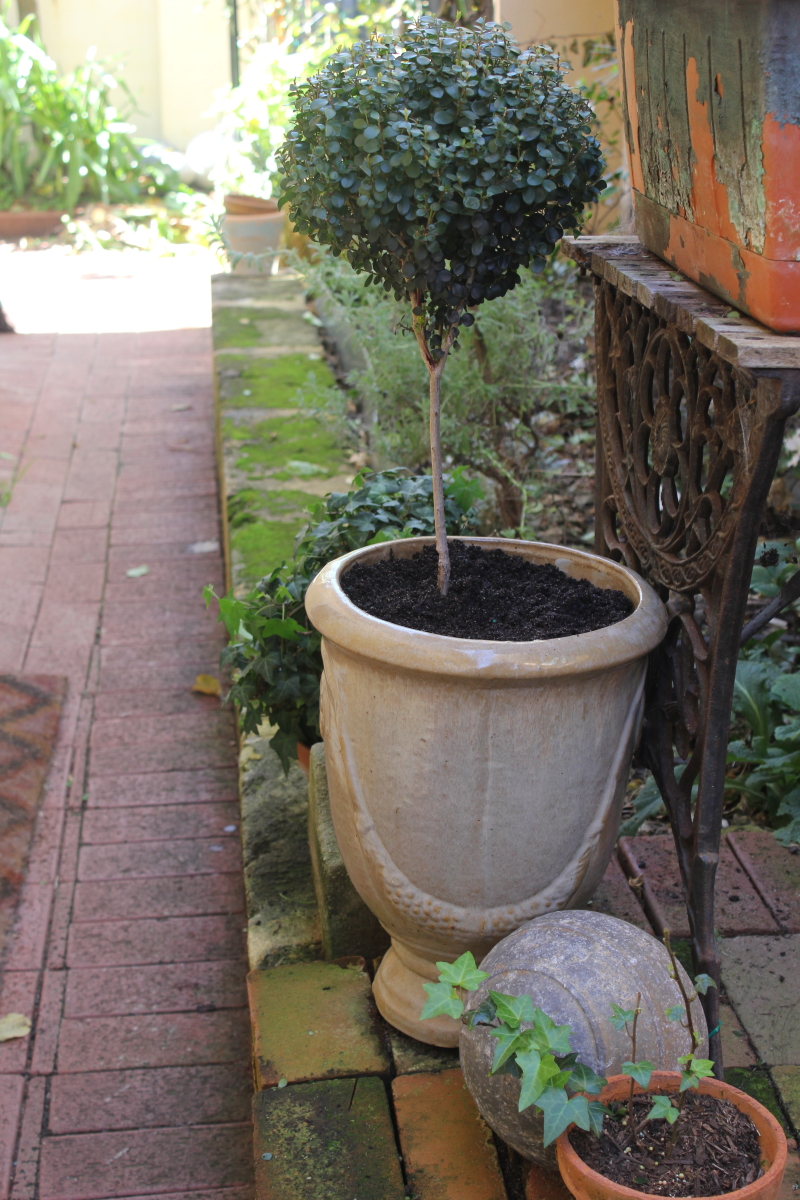
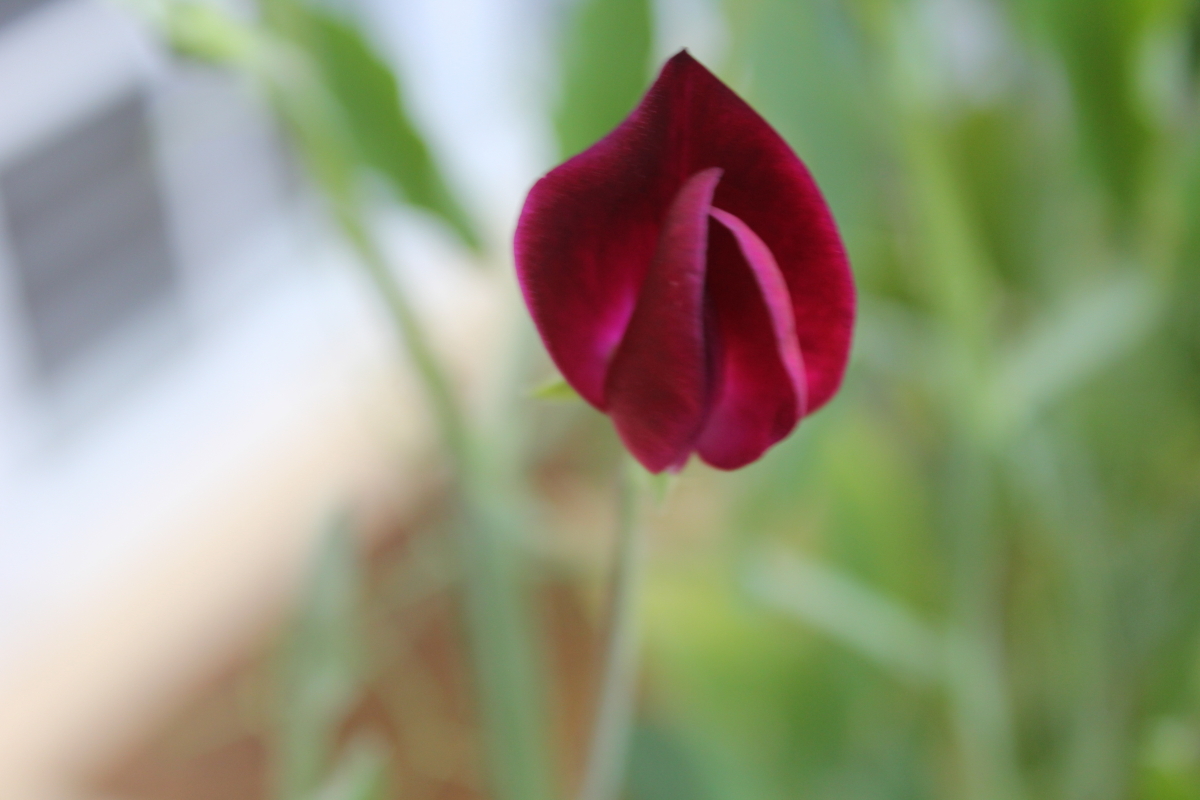
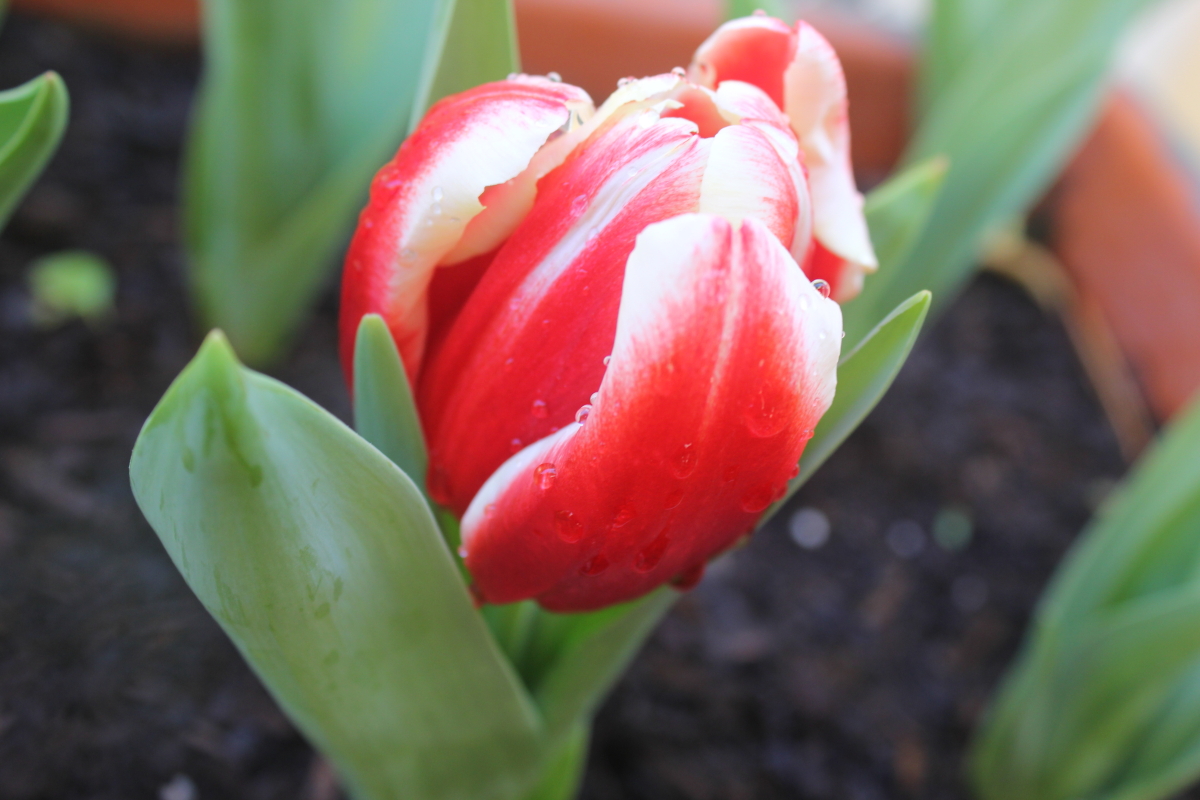
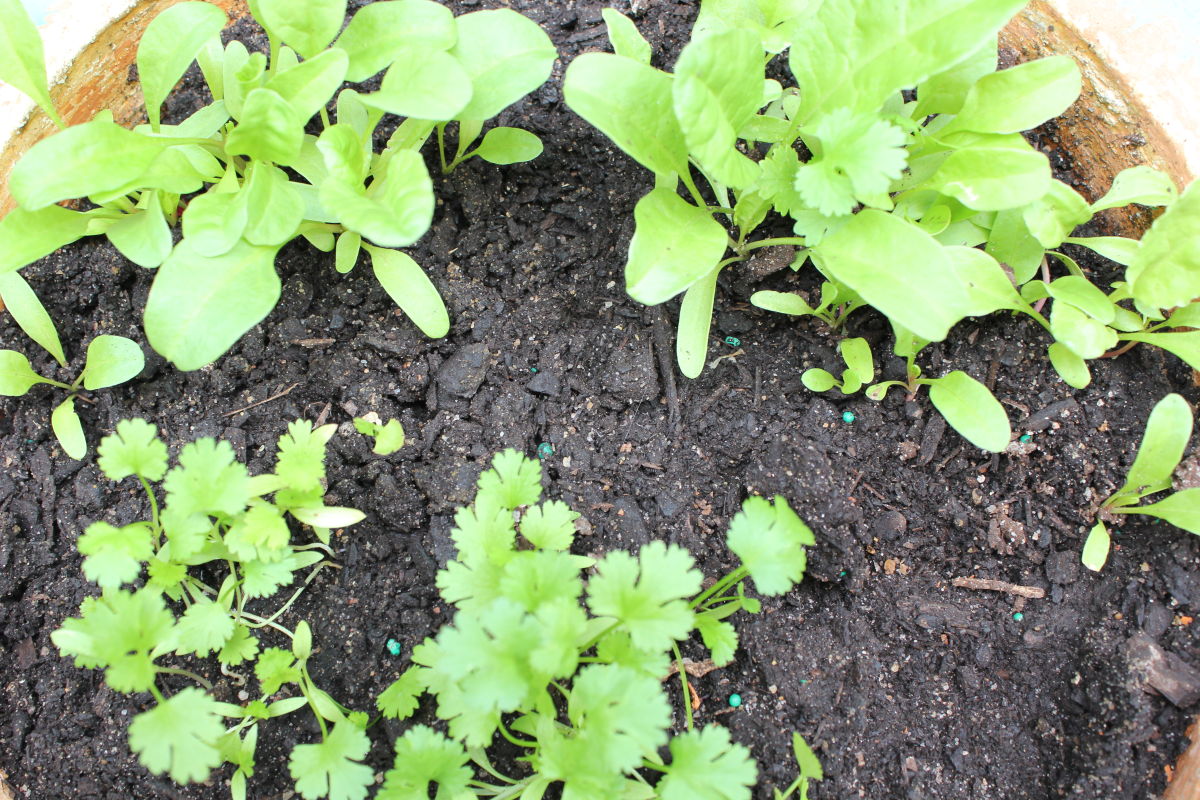
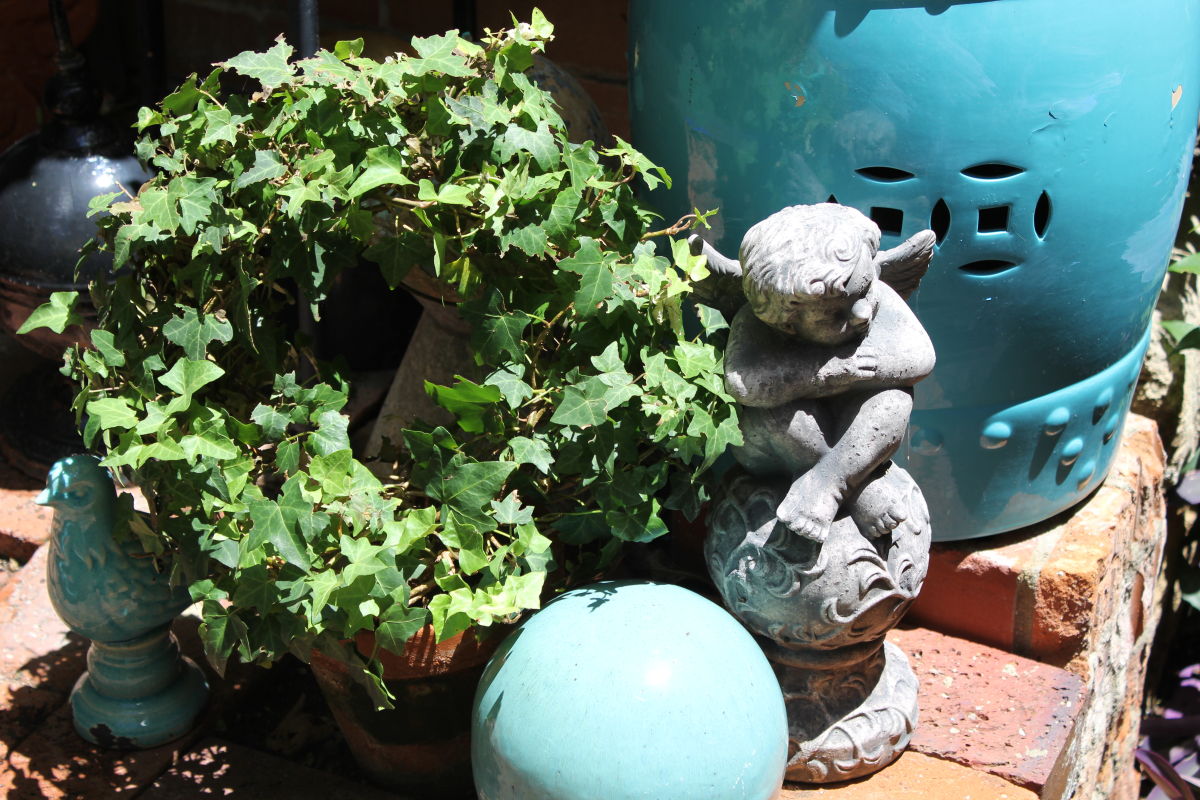
The garden is bursting with blooms and very pretty.

Went to the Lawrence Wilson Art Gallery at the University of Western Australia and really enjoyed their current exhibitions, especially the FLORA pictures from the Cruthers Collection of Women’s Art. This small collection reflects on the uses of flowers throughout history in decoration, in medicine, in love and death and as part of the ecosystem.

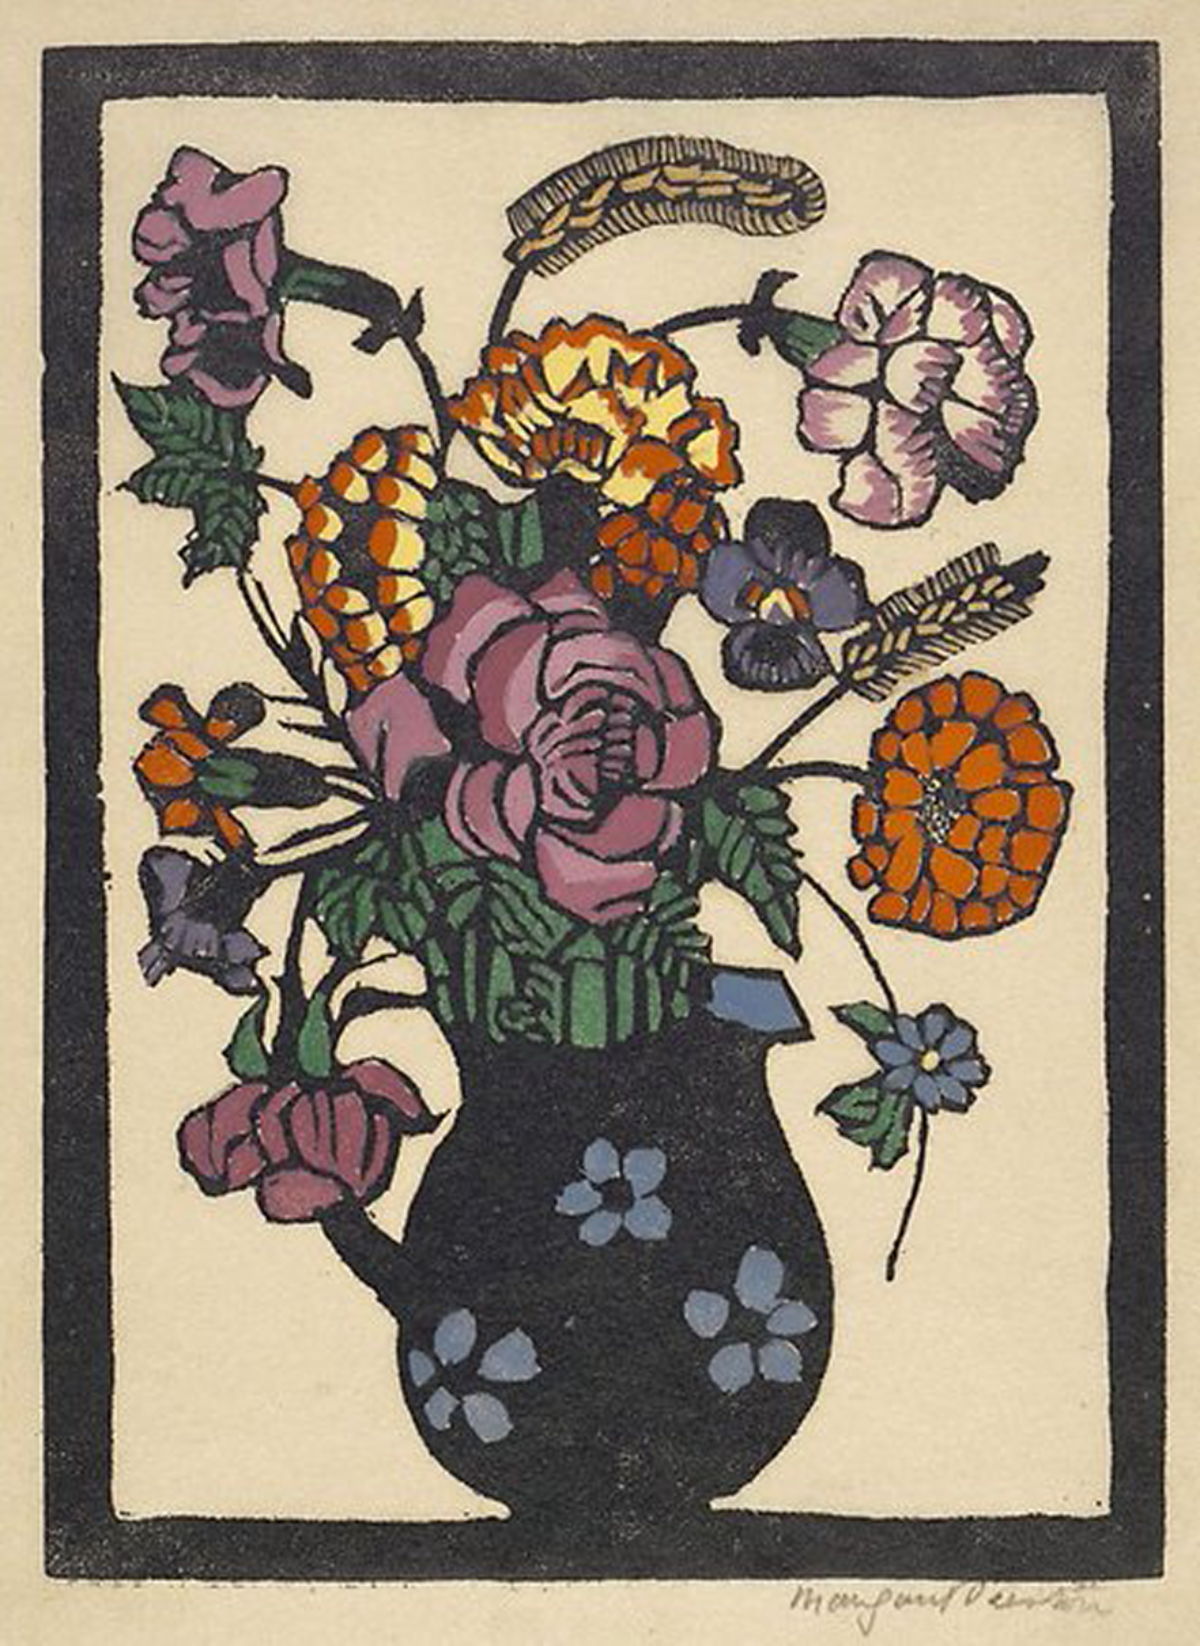
One of my favourites was this Margaret Preston’s “Jug of Flowers” print shown above. I really liked Nora Heysen’s painting “Gladioli”, too. Also at LWAG are Zadok Ben-David: Human Nature and In The Shadows.

( Image used by permission LWAGA.)

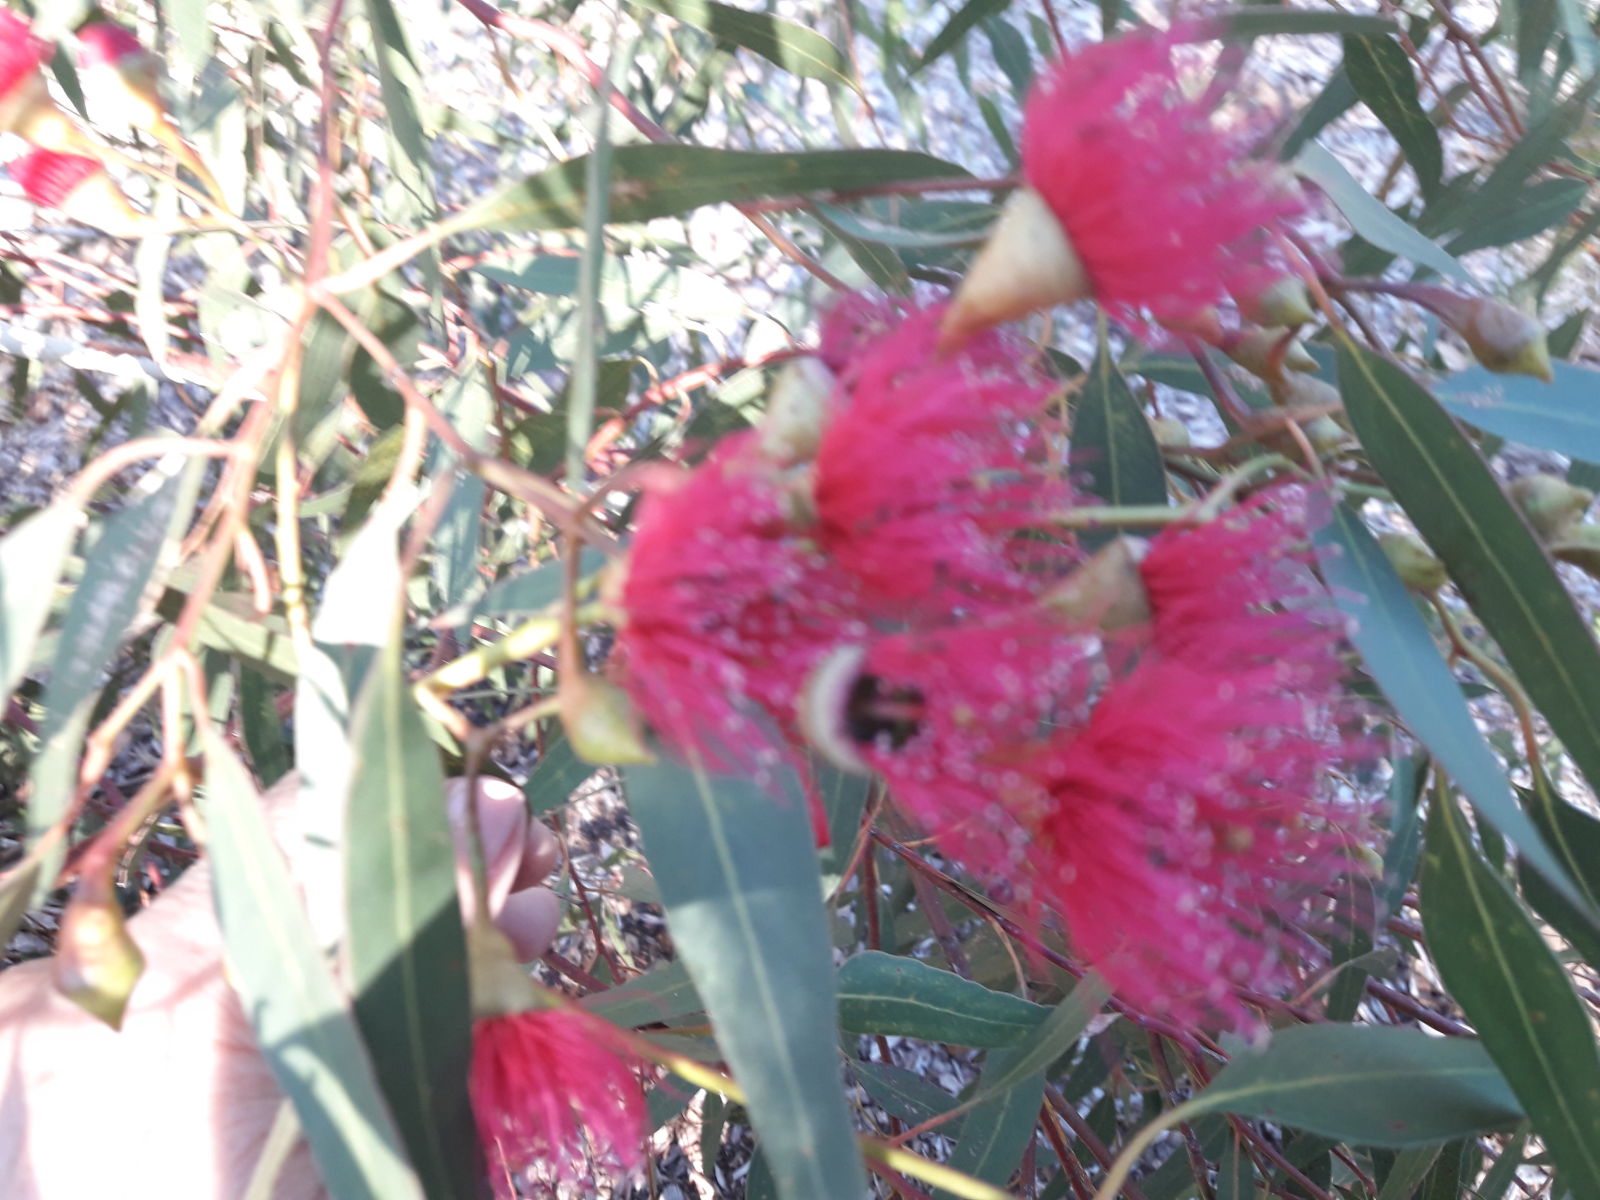
This is eucalyptus youngiana, a eucalyptus endemic to Western Australia. To celebrate the first anniversary of my blog I have a printable for you! It is a botanical painting of eucalyptus youngiana which I did some years ago. I wanted to give you a gift which is unique to Western Australia so I searched through so many of my botanical paintings until I found this one. I hope you like it. Please feel free to download and print it for personal use.


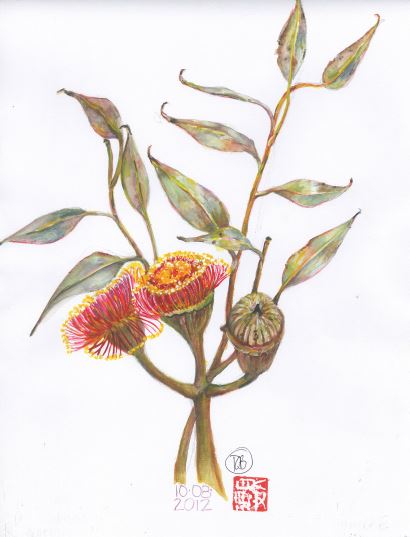
To print, click on the image and a printable page will appear, but please be patient as it loads slowly.

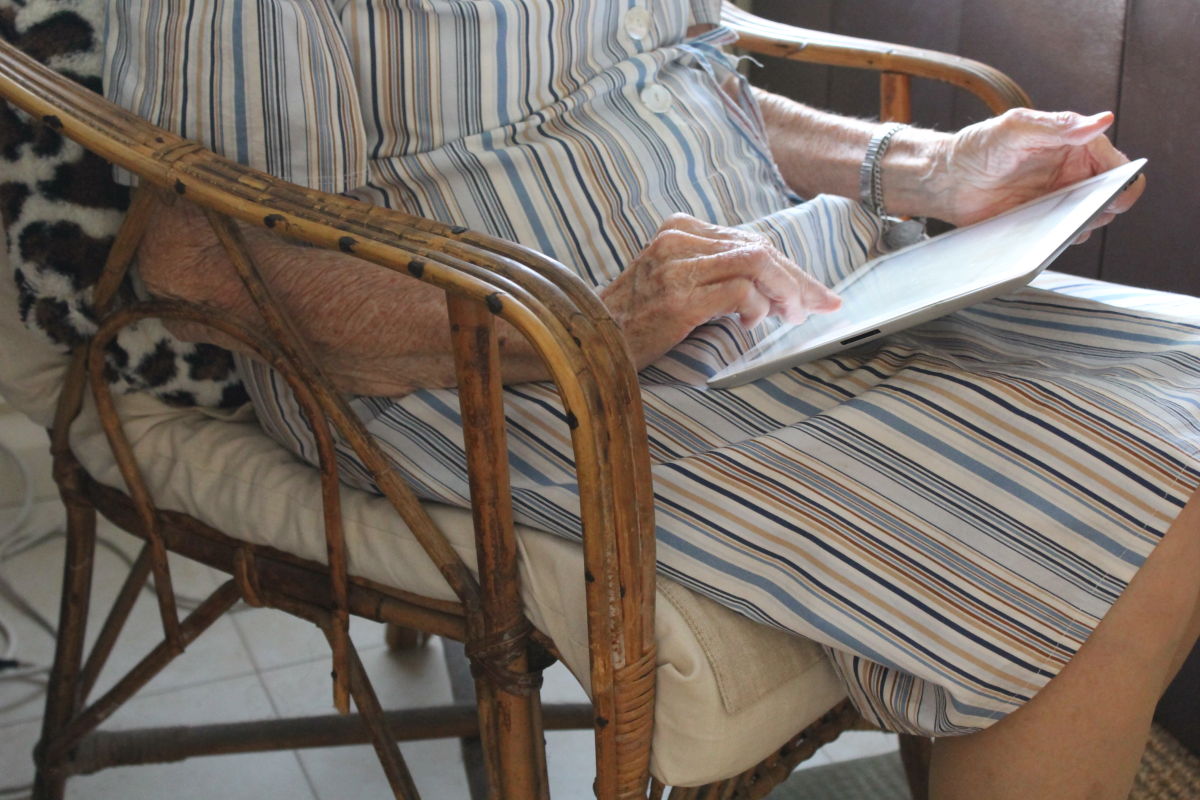
Today is Carers Appreciation Day in recognition of the enormous contribution made by paid and unpaid carers. So, if you know a carer, say “thanks” or send a “thankyou” card  or email.

Share this post
Share

Making, Cooking, Growing

Share this post
Share

MAKING heart patterned giftwrap.

I’ve printed some giftwrap to decorate the table next week. We don’t really do anything special on St Valentine’s Day but like to do special  things together during the year.

This paper is so easy to make. You need a cardboard tube, red acrylic paint, a folded sheet of paper towel, a saucer and a sheet of paper to print on. I used  litho paper but most paper would be suitable.

Pour some paint into a saucer after you’ve squeezed/deformed your cardboard roll into a heart shape. ( It’s very easy!)

Dip it into the paint. If it seems too thick just dab it on the paper towel once, then print onto the paper. I printed in a pattern but randomly placing the hearts looks good, too.

MAKING  cucumber agua fresca ( Spanish for “cool water”)  a light, cool, non-alcoholic drink popular in Mexico and America. I had some in a cafe during the week and loved it so looked up the recipe.

Infuse one medium thinly sliced cucumber, a sliced lemon (lots of recipes use lime), 12 mint leaves and one litre of filtered water overnight in a jug in the fridge, stir the next day and enjoy. Different recipes add sugar and some blend all the ingredients to make a thicker, stronger drink.

I felt “as cool as a cucumber” on a hot and humid day!

COOKING ginger cake. This recipe made a very big cake.

The dry ingredients were mixed into the cooled, wet ingredients then cooked. Smelled good cooking!


A very big cake. ( recipe Womans’ Weekly Cookbook)

Topped with ginger icing, then some red grapes scattered with chopped, crystallized ginger. I prefer the ginger flavoured icing more than the lemon one in the recipe.

GROWING baby spinach  which we eat all year round and also coriander to use as micro greens on salads. The coriander will bolt and go to seed in this hot weather if left to grow, but immature leaves scattered on salads taste very good.

This is my 86 year old computer competent mother scrolling through my blog. She has been staying for a few days.

Today is Toothache Day which is really about educating people to avoid toothaches and promote good dental routines. The focus is on good dental hygiene and suggests you have a yearly checkup as well as the usual daily care to prevent toothaches.

Share this post
Share

How to Make a Living Ivy Topiary Wreath

Share this post
Share

Easy to do, great looking and a lovely gift, its time to start growing an ivy topiary wreath if you want to give it as a Mothers’ Day gift or just as a pretty addition to your courtyard or garden. They are attractive and need little care except watering and twisting the growth around the wire frame. Well established wreaths need clipping back about twice a year.

You need:

* four or five ivy cuttings

* vase or jar with water

* potting mix

* pot

* clothes hanger

Select the size ivy depending on the wreath you want to  make. This is a small leaf variety. I have two made with bigger ivy leaves which are much bigger wreaths.

Put four or five cuttings in water until small, thread like roots appear. I leave the vase out of sunlight in the kitchen until the roots appear.

Plant out the ivy and leave it for about six weeks to get established. I only use a fish emulsion on the new plant, but water regularly and keep it in dappled shade.


Now shape a coat hanger and bend the hook to a right angle to secure in the pot. I’ve made the circular frame from wire before but now just use coat hangers. I’ve also secured the base in a cut out circle of polystyrene in the past but now just embed the hanger in the soil.

Transfer the ivy to its final pot or embed the hanger in the existing pot. Gently twist the ivy around the frame. You’ll need to keep doing this every month. Soon you’ll have a pretty Ivy Topiary Wreath.

Today is Australia Day, the day Austalians reflect on what it means to be Australian, to celebrate contemporary Australia and to acknowledge our history. Aboriginal and Torres Strait Islanders, and people from nearly every country in the would have created a dynamic society in an amazingly beautiful country. Today many Australians will enjoy a barbecue with friends and family and then, tonight, the wonderful fireworks all around the country.

Happy Australia Day!

Share this post
Share

Christmas Eating, Making and Gifting.

Share this post
Share

FOOD

The Yule Log made by my sister in law. It was part of the Christmas feast we enjoyed in Beverley, about two hours from Perth. It was a lovely day.

Cheese, cherries and chutney, perfect. My husband buys me a china pot of Stilton every Christmas and it is delicious!

PROJECT

We had ten for Boxing Day Lunch and I made HAPPY NEW YEAR Rosemary Laurels.

To make

1. Make a circle from a piece of rosemary and glue the overlapping ends. Secure with a peg until it dries.

2. Print off and cut out your message. I glued a scrap sheet of A4 paper to the back to make it stronger, then cut.

3. Put a dab of glue on each end of the message, press onto laurel.

4. When the glue is dry ( I left it  overnight ) add a piece of ribbon.

These laurels looked pretty and smelt great.

SURPRISES

A Gingerbread House Gift. Such a lovely surprise from special friends. Thankyou!


PRESENTS

We all like books for Christmas! My mother has gone home, we are living off leftovers, things have been put away and now we have settled to some reading.

This enormous pile belongs to my husband. He is very pleased with it . He haunts second hand book sites online for titles he wants after he’s seen them in the bibliography of other books.

Books about painting Australian flora and fauna, Paris and cooking…..must be my pile.


Louis found Monkey in his stocking and is very pleased with him. Determined to get to the squeak he has already chewed his side seam.


We’ve just had Fruit Cake Day. Very convenient straight after Christmas when so many of us make Christmas Cake. Yesterday was Card Playing Day which is also handy when so many of us  are on holidays. So, cut the cake and deal the cards and enjoy it all today.

Share this post
Share

Making Our Gingerbread House

Share this post
Share

To begin making the gingerbread dough, I melted the butter and mixed it with sugar and golden syrup. Looks unattractive, smelt wonderful.

The dough coming together.  The recipe is Mary Berry’s from a BBC TV site and includes the templates to make the house.

Ginger was first cultivated in China and was used as medicine. It arrived in Europe via the Silk Road, and the biscuits became so popular in England, it became the staple of Medieval Fairs, spreading to Holland, France and Germany.

Queen Elizabeth Ist had her gingerbread biscuits cut and decorated to represent certain characters in her court, a fashion which quickly became widespread.

Gingerbread Houses originated in Germany during the 16th century and became very popular when the Brothers Grimm wrote the story of Hansel and Gretel, where the main characters stumble upon a house deep in the forest, decorated entirely in sweets.

To make the house pieces, I divided the dough into five balls and began rolling, before placing the templates on the dough and cutting them out.

The house pieces ready to put in the oven.

Used the leftover dough to make biscuits. They were very popular with the family and visitors.

Made royal icing and began constructing the house, using jars to support pieces until the icing dried.

The decoration was a joint effort and took two days, leaving the icing to dry before doing the next stage.  Aesthetics took second place to fun in this project.


The house is wrapped in cellophane and is on display. We’ll declare it open for eating on Christmas Eve.

As we head towards Christmas Day, commemorating the birth of Jesus, many of us in Australia observe festive traditions, such as singing carols  and lighting candles, visiting family and friends, decorating our houses, cooking special food, wrapping and exchanging gifts and attending church services.

Wishing you a MERRY CHRISTMAS and a HAPPY NEW YEAR!

Share this post
Share

The Twelve Jobs Before Christmas

Share this post
Share

  1. Write Christmas cards. I really enjoy receiving cards from family and friends here and in the east and overseas and hearing their news and finding out what their children are doing. I know lots of people send an email now, but I love personal, hand written news in a card.


2. Making trays of shortbread to put into gift boxes. These little sweet treats go into cellophane packs which are sealed and put into the boxes I’ve already made. Then a ribbon and a card. Done. Delicious.

3. Fresh linen on the guestroom bed and everything ready for my mother arriving for Christmas.


4. Cherries mean Christmas in the Southern Hemisphere. Start eating them now!

5. Hang the stockings in the sitting room and begin filling them. Louis, our dog, sniffs his several times a day.

6. Decorate the fountain in the portico. Looks pretty.

7. Get in supplies of champagne and other Christmas drinks.

8. Hang a wreath on the front door. The string of lights comes on at night.

9. Watching series two of The Crown. So good, so added Her Majesty to the decorations. Try the Tattler magazine site for these.

10. Massive clean out of the fridge so there’s room for the Christmas cooking.

11. Start eating Christmas cake. This one has been drizzled with brandy several times since it was made. And it’s nearly gone.

12. TO DO lists! Do you have lists of food shopping, of cooking, of house jobs and also presents which still need to be bought? And wrapped.

Today is International Tea Day. Celebrated since 2005, the aim is to draw attention to the impact of the global tea trade on workers and growers and has been linked to fair trade goals. And you thought it was about enjoying a nice cup of tea!

Share this post
Share

How to Grow Buxus (Box) and Make Box Topiaries

Share this post
Share

TO GROW

I have box (buxus) hedges and they “sucker”. I pull up these stray suckers and if they have a root attached I plant them out. These are generally successful.

Another method is to take a cutting from an existing plant. The best time to grow semi-hardwood cuttings, like box, is late spring to summer, although I have had success in autumn, too.

Take a cutting about 10cm/4 inches long and strip off all but a few leaves at the top. Keep the cutting moist in damp paper towel or newspaper if you’re not planting them straight away.

Push several stems into a pot of well drained potting mix and label them. Some gardeners recommend dipping the stem into rooting/hormone powder. Sometimes I do, sometimes I don’t and have good outcomes either way.

Cover the pot with a plastic bottle with the bottom cut off and the lid off to allow air circulation. This creates a mini-glasshouse. I only do this in autumn. Don’t let the pot dry out.

In about 10 weeks your plants should have grown roots and can be carefully transplanted. The plants in the pot above are three months old and have been very slightly trimmed and shaped.

TO TOPIARISE

To create ball topiaries, strip the leaves from the stem leaving the growth at the top. Begin shaping this using scissors or secateurs. Occasionally leaves will develop on the stem as they grow. Just pull them off.

These topiary trees are about two years old and I keep them dense and round.

This dome is about three years old and started with four stems.

This topiary tree is nearly four years old. Box grows well in full sunlight or semi shade. Don’t let them dry out.

Another dome started with five stems. Begin shaping as soon as there is sufficient growth. If you want to make a square/cube topiary it is easiest to plant four stems, one in each corner of the pot as this will thicken up faster than one with fewer stems.

I use a slow release fertiliser. The container will tell you how often you need to apply it for best growth.

Saturday 26th August is Dog Day and honours the special bond between man and canine. Take time to appreciate the love and value dogs bring to our lives and do your bit for abused and homeless dogs where ever you are in the world.  Look at www.nationaldogday.com for more information and ways to celebrate.

Share this post
Share

Some Making, Some Cooking and Some Growing

Share this post
Share

Making.

Making Herb Pot Markers. I use wooden Tongue Depressors from the $2 Shop to make markers for herb pots. Using non-toxic paint, I colour most of the depressor as shown and when it’s dry I do the other side, making sure the edges are also painted. I use a waterproof marker to write the name on the stick ( I used a Sharpie) and  a non-toxic paint, in this case a sample pot, for any food growing pot. Also, when Louis, our dog was a puppy, he chewed most of the labels one afternoon so I was glad they were non-toxic.

I usually paint ten sticks at a time.

Most paints only require one coat so this is a quick and easy job.

Cooking.

Cold Weather Cooking. I make several trays of pasties and freeze most of them for work lunches or weekend lunches.

Lots of nice spinach at the moment, so I made an egg, sheeps’ fetta, onion and spinach slice. Tastes best when cold, if you can wait that long.

Quick Apple, Almond and Coconut Slice. Didn’t add the coconut and it was still very good. Below is Ginger Caramel Slice. Irresistible. The recipe for both these slices comes from www.taste.com.au

Growing.

The Sweetpeas have begun blooming.

They look pretty and smell gorgeous.

The first tulip is blooming but there are lots more about to come. This is Tulip Leen van Mark.

August 21st is World Fashion Day. Thinking about the amount of clothing in good condition that ends up in landfill, maybe it’s time to re-fashion something you already have?


t

Share this post
Share

Elastic Holder For My Journal

Share this post
Share

This is the final activity!  I showed you how I covered the journal, then I showed you how I marbled paper for the inside covers and now, I’ll show you how I make the elastic holder which slips over the front and holds necessary pens and for me, glasses. This band is so useful! Not only does it hold things but I can easily slide it off my full journal to put it on a new one. It is simply a strip of stitched up elastic. You need:

  • twice the height of the book you are covering of 5 cm/2″ elastic, plus 11cm/4.5″ extra elastic *
  • scissors
  • pins
  • sewing machine

* I only add a little bit extra overlap as the holder needs to be tight, so that when you sew it together the loop will be snug and firm around the journal.

Overlap and pin. Machine stitch.

Take the extra piece of elastic and working over the join in the elastic, fold the ends as illustrated, pin down and machine stitch.

Divide the piece into three even sections and pin down, then sew. I have sewn two channels between each section in the past but now I just use zigzag stitch and it works well.

I used to make one section wider than the others but three even sized sections are actually more useful.

The finished product. These covered journals make popular gifts, especially if covered in paper to match a pregnancy, a journey, even setting up a blog.

I use my journal every day and include a calendar in the back where I can mark times we’ll be away, when we have house guests and school terms for Western Australia.

Did you know yesterday was Play in the Sand Day? Here it would be Play in the Puddle Day as we’ve had more rain than we’ve had for years! The garden is happy, but the weeds are happier.

Share this post
Share

How To Marble With Water-based Inks

Share this post
Share

Marbling is a method of decorating paper by floating water-based inks on water, swirling the inks, pressing on the paper and removing it to dry. Traditionally oil based paints were used but I prefer prints which are easy to fold and glue, not rigid and thick like oil based prints.

I use marbled paper for the frontpiece and backpiece of my journals. I use Japanese water-based inks from an art supply shop and  printer paper. I used to use litho paper but prefer printer paper now.

Collect your materials:

  • water-based inks
  • a stirrer
  • rubber gloves
  • paper to fit your journal (I use sheets of A4 printer paper)
  • an appropriate sized sink/bowl of water

Drizzle inks onto the water and stir. I select colours to suit the paper used to cover the journal. You can created a darker pattern by increasing the intensity of the ink.

Smooth the paper over the ink making sure the paper surface is completely touching the water. Print two in similar colours for the front and back.

Remove and lay flat to dry. Usually I leave them outside where the prints dry very quickly but it’s raining today. This print looks streaky as it took a long time to photograph.

The paper needs trimming to fit the pages so I lay it out where it fits on the cover and the press the printed paper over the page edge creating a fold to show where to cut. You can see the fold to the right of the image.


Using the gluestick, put glue all over the surface to be covered and starting from the fold in the middle smooth down the marbled paper until it is flat and smooth. That’s the frontpiece done, now do the back!

Next week I’ll show you how to make the elastic holder which keeps everything I need on the journal, ready to go.

Today is Assistance Dog Day. There are many kinds of assistance  dogs: guide dogs, hearing alert dogs, seizure alert dogs and other medical alert dogs. Very clever dogs.

Share this post
Share
Share